Table of Contents
This tutorial will guide you through creating a new package and starting the simulation with a new robot model. You will need:
- a working installation of ArmarX
- a model of your robot in the simox xml format
As an example, this tutorial will use the model of youBot. The end goal will be starting a simulation with the new robot.
Creating a new package
Since you'll need a place to start your scenarios, a new package will need to be created. You can create a new package in your current folder by executing the following command:
${ArmarXCore_DIR}/bin/armarx-package init YouBotTutorial --dir=.
For more information about the ArmarX package tool, refer to ArmarX Package Tool. This tutorial will refer to the new package as ${RobotPackage}, and to its path as ${RobotPackage_DIR}
Setting up the package
Begin by copying your robot definition file (YouBot.xml) and all necessary data, such as models, into ${RobotPackage_DIR}/data/${RobotPackage}. Next, you'll need to adjust the ${RobotPackage_DIR}/CMakeLists.txt in the package to use other ArmarX components. Add these lines after the line starting with armarx_project(...)
armarx_find_package(PUBLIC MemoryX REQUIRED)
armarx_find_package(PUBLIC RobotAPI REQUIRED)
armarx_find_package(PUBLIC ArmarXSimulation REQUIRED)
Afterwards, run cmake to ensure that your package finds all dependencies:
cd ${RobotPackage_DIR}/build
cmake ..
- Note
- If you want to depend on a specific ArmarX release, you have to define the version number for your own package to match the ArmarX release version number. See ArmarX Package Versioning for details on how to do this.
Creating a new scenario
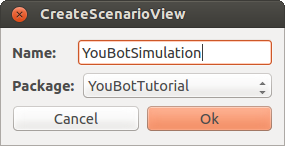
Now that the package is set up, a scenario is needed to execute the simulation. You can do that by using the scenario manager (ArmarX GUI -> Add Widger -> Meta -> ScenarioManager). Create a new scenario after you have registered the package that you created earlier.
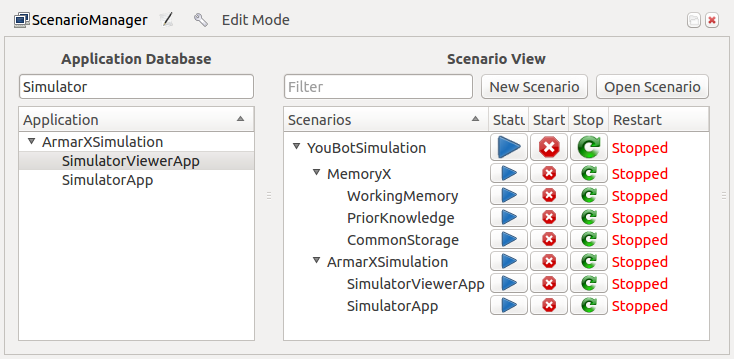
Then add the following applications from the application database to the newly created scenario (use drag and drop):
- CommonStorage
- PriorKnowledge
- WorkingMemory
- SimulatorApp
- SimulatorViewerApp
The resulting scenario view should look similar to this screenshot:
Some of the applications can be directly used while others need to be configured. The following table shows all applications and the corresponding properties that need to be set.
| Application | Properties |
| CommonStorage | MemoryX.CommonStorage.MongoUser = "" MemoryX.CommonStorage.MongoPassword = "" |
| PriorKnowledge | MemoryX.PriorKnowledge.ClassCollections = testdb.testCollection |
| SimulatorApp | ArmarX.Simulator.FixedTimeStepStepTimeMS = 1 ArmarX.Simulator.FixedTimeStepLoopNrSteps = 3 ArmarX.Simulator.FloorTexture = "SimulationX/images/floor.png" ArmarX.Simulator.RobotFileName=YouBotTutorial/YouBot.xml |
| SimulatorViewerApp.cfg | ArmarX.SimulatorViewer_SimulationWindow.Camera.x = 0 ArmarX.SimulatorViewer_SimulationWindow.Camera.y = 4000 ArmarX.SimulatorViewer_SimulationWindow.Camera.z = 2500 ArmarX.SimulatorViewer_SimulationWindow.Camera.roll = 1.2 ArmarX.SimulatorViewer_SimulationWindow.Camera.yaw = 3.14 |
- Note
- SimulatorApp specifies YouBot as the robot, make sure you replace the filename with your robot.
- Make sure to set the MongoUser and MongoPassword to empty strings (""). This is not equivalent to not specifying these properties. You will get errors because of missing required parameters if you do not explicitly set these parameters.
Starting the scenario
Before continuing, make sure you've started ice and the database with the following commands:
${ArmarXCore_DIR}/bin/armarx start
${ArmarXCore_DIR}/bin/armarx memory start
Once done, you can start and stop the scenario using the buttons in the scenario manager.
Alternatively you can use the command line interface:
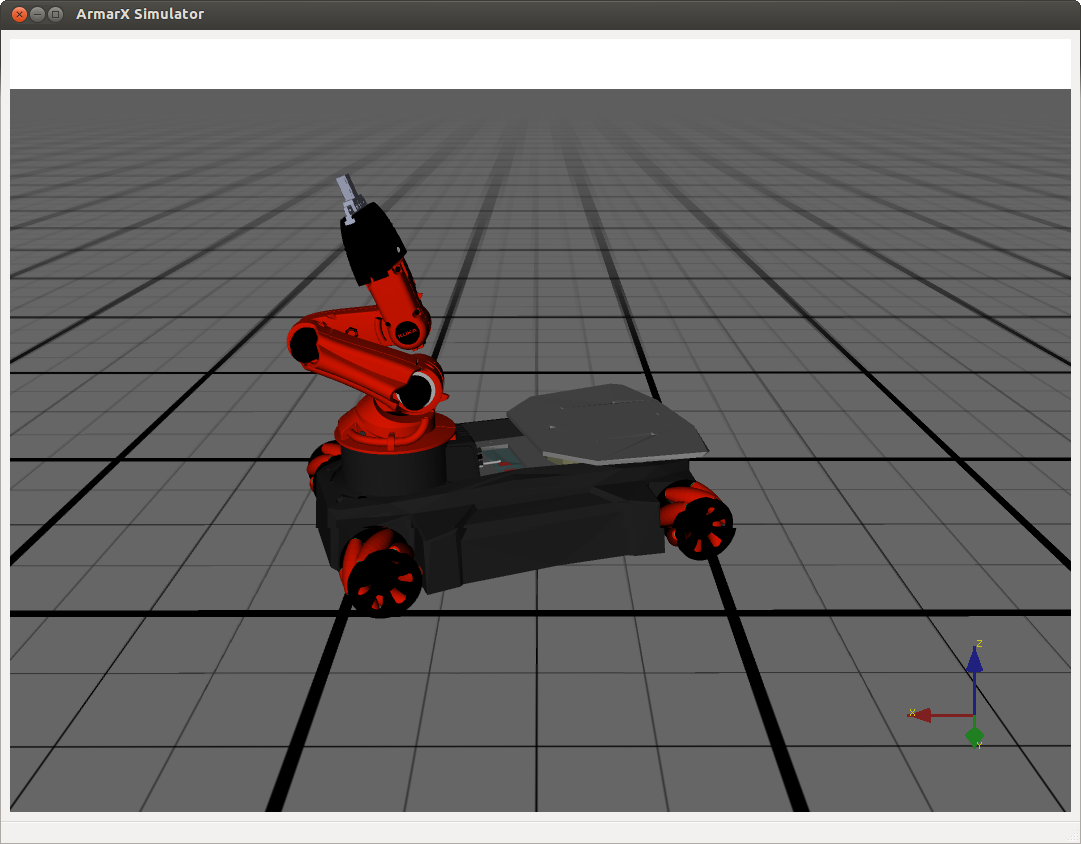
Doing so should start the simulation, and show you the specified robot.
Once you're done, stop the scenario using the GUI or:
