Creating a new scenario
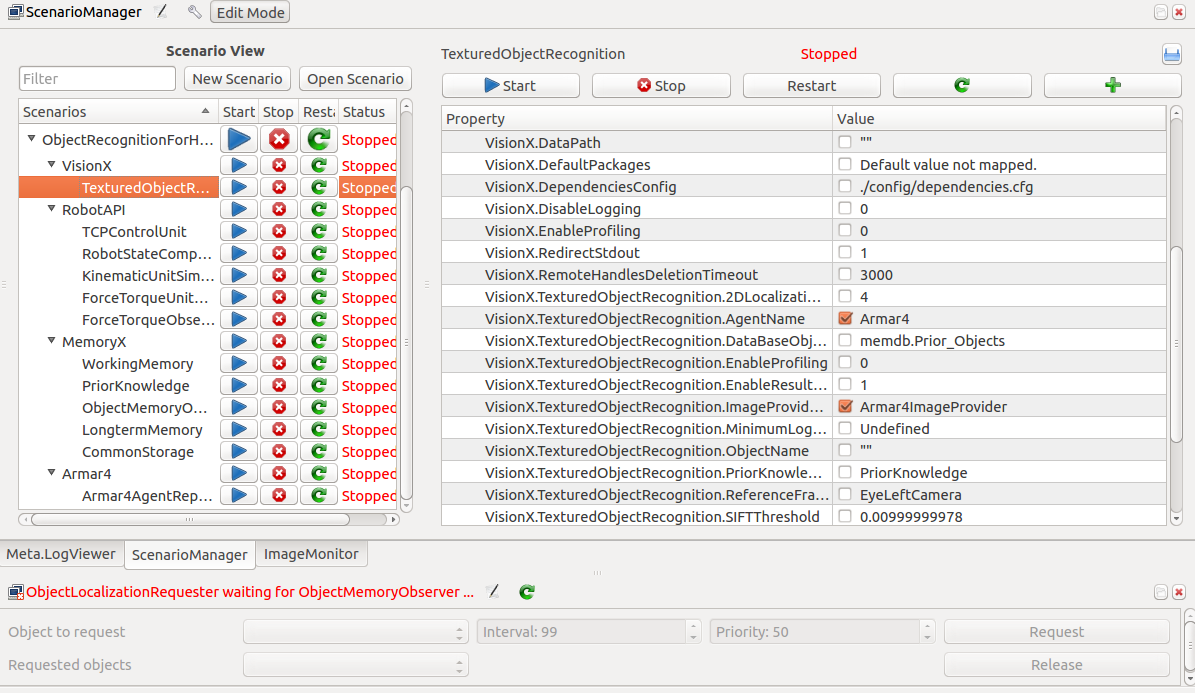
In the ScenarioManager, create a new scenario in the Armar4 package. This scenario will receive images from the RealArmar4Vision scenario and will localize objects by finding their texture in the images provided.
The two components needed for the localization are the ObjectMemoryObserver and the TexturedObjectRecognition.
There are quite a lot of components that the main components depend on (directly or indirectly), which also need to be added:
TCPControlUnit, RobotStateComponent, KinematicUnitSimulation, ForceTorqueUnitSimulation, ForceTorqueObserver, WorkingMemory, PriorKnowledge, LongtermMemory and CommonStorage.
Configuring the components
While the ObjectMemoryObserver doesn't have any settings that need to be changed, the TexturedObjectRecognition does. Set the AgentName to Armar4 and the ImageProviderName to Armar4ImageProvider.
The configurations that need to be edited for the other components are the following:
TCPControlUnit:
RobotStateComponent:
KinematicUnitSimulation:
ForceTorqueUnitSimulation:
ForceTorqueObserver:
WorkingMemory: no changes
PriorKnowledge:
LongtermMemory:
CommonStorage:
- Note
- The MongoHost in the CommonStorage configuration is set to the IP of the Armar4 head pc, since the mongo database was started on that pc.
The object localization depends on a robot node in the robot model of Armar4. The model has to include the nodes of the head of Armar4. Therefore, you need to navigate to Armar4/data/Armar4/robotmodel/ and check Armar4.xml. Look for the line which includes Armar4-Head.xml:
If it is commented out, or the value is set to false, just replace the line with the line above.
Running the scenario
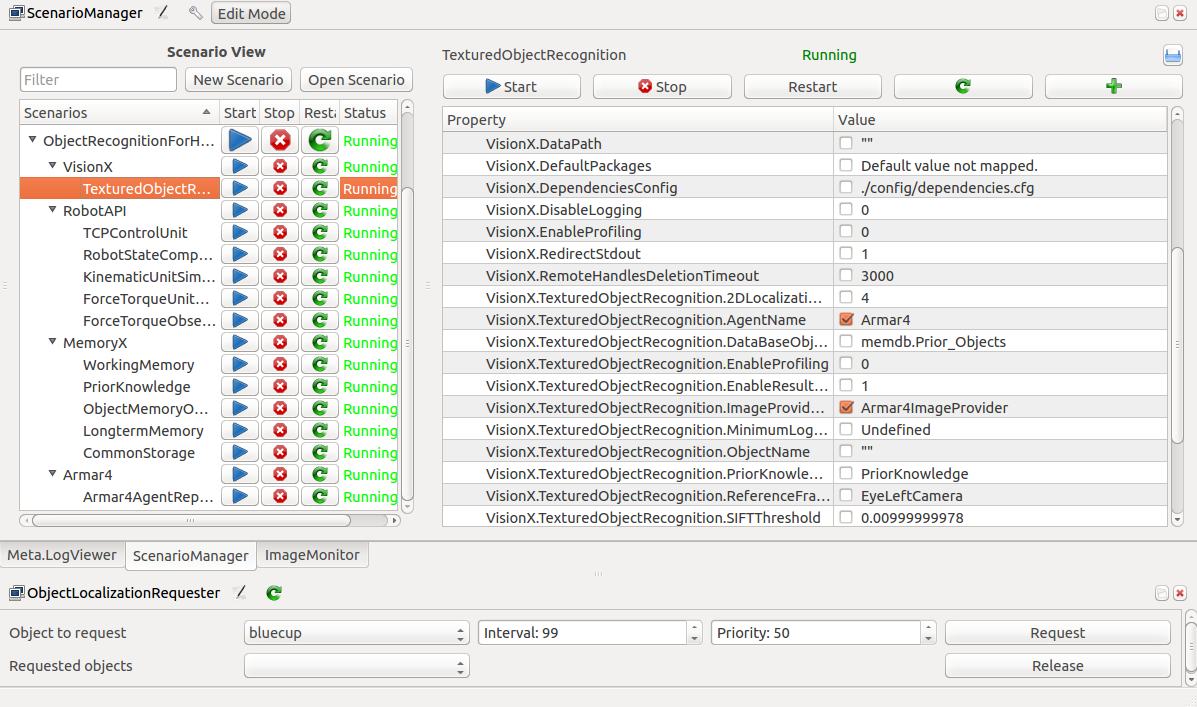
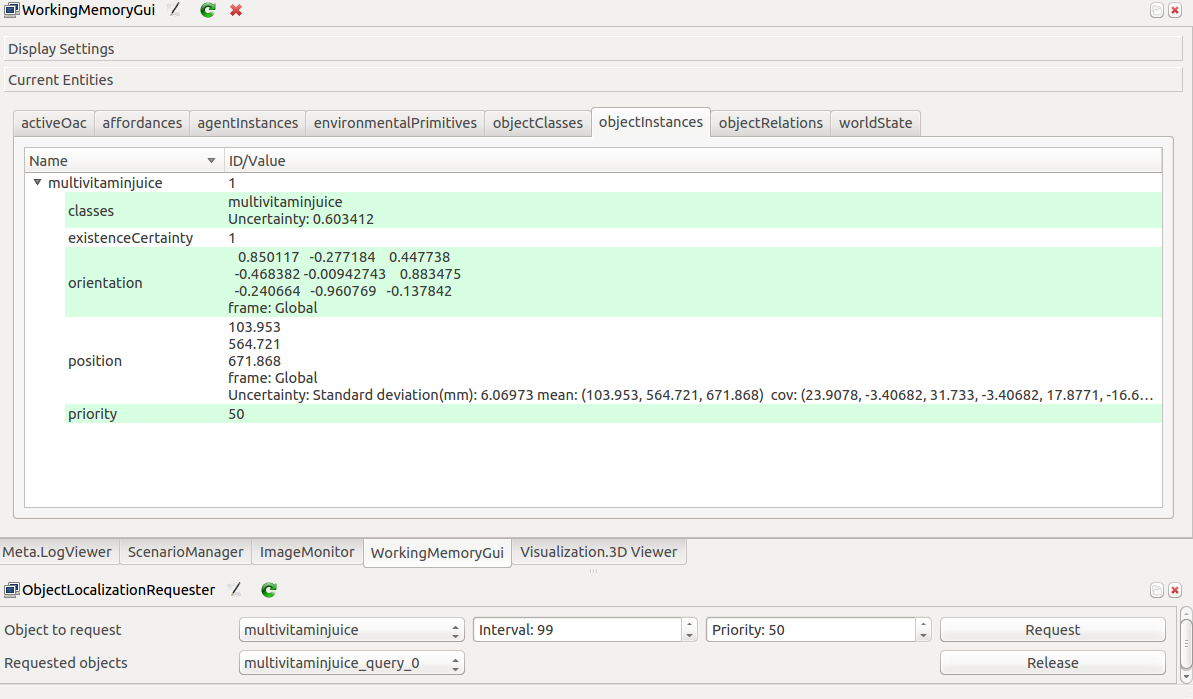
To test the scenario, you have to have the RealArmar4Vision scenario run on the head pc, as explained in previous how tos. Check its image output with the ImageMonitor in the gui. To request an object, the ObjectLocalizationRequester widget needs to be added to the gui as well. Start the newly created scenario from the ScenarioManager and the ObjectLocalizationRequester should become available.
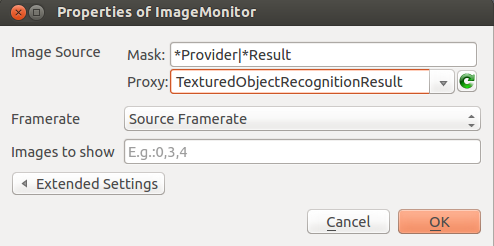
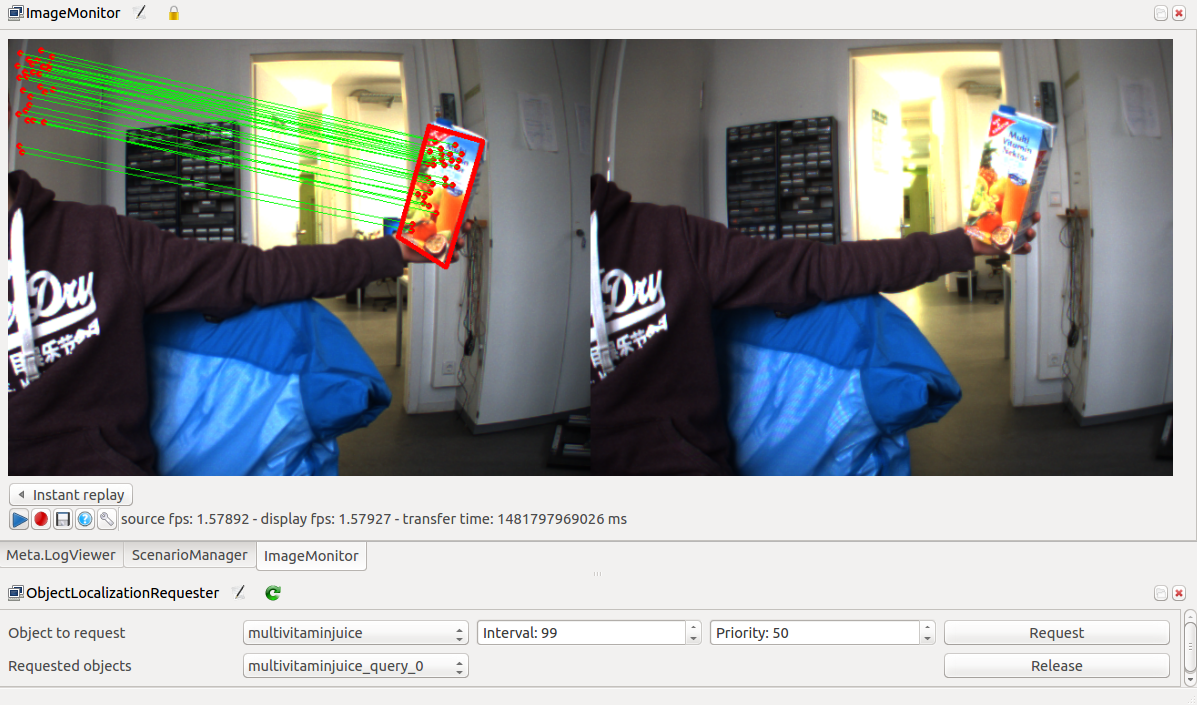
You can choose the object you want to localize from the list on the left. Press the request button to get the localization process going. Switch over to the ImageMonitor and change its settings. A new proxy named TexturedObjectRecognitionResult should be available. Upon selecting it and confirming, you should be able to see the camera images, just as before. But when you hold the requested object into the camera view, it will be detected and outlined in red. Texture feature points will be displayed. The existence of the object can also be checked in the WorkingMemoryGui under the ObjectInstances tab.
- Note
- The texture recognition is not trained for close objects or very far objects.
