This tutorial will expand upon the first tutorial by extending the existing YouBotSimulation scenario. It also doesn't hurt to be familiar with the KinematicUnitGUI introduced in the last tutorial.
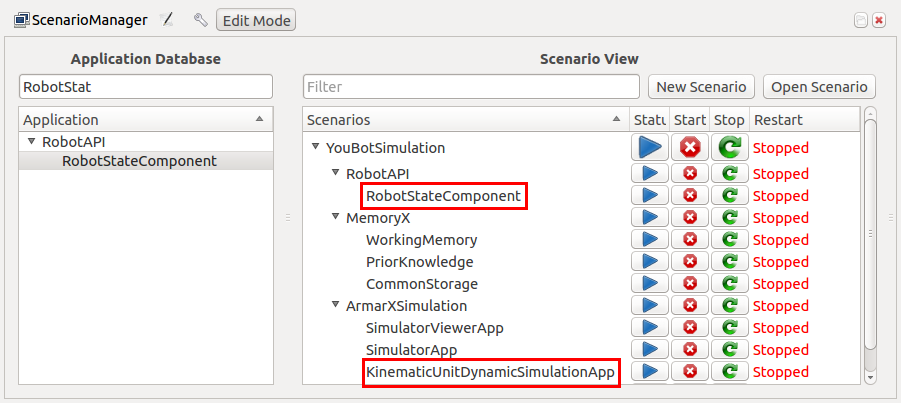
We start off by adding the components KinematicUnitDynamicSimulationApp and RobotStateComponent to YouBotSimulation. Make sure the scenario view looks similar to the following screenshot (the added applications are highlighted):
And again, configure the added applications by setting the following values:
| Application | Properties to set |
| KinematicUnitDynamicSimulationApp.cfg | ArmarX.KinematicUnitDynamicSimulation.RobotNodeSetName = Joints_Revolute ArmarX.KinematicUnitDynamicSimulation.RobotFileName = YouBotTutorial/YouBot.xml |
| RobotStateComponent.cfg | ArmarX.RobotStateComponent.AgentName = youBot ArmarX.RobotStateComponent.RobotNodeSetName = Joints_Revolute ArmarX.RobotStateComponent.RobotFileName = YouBotTutorial/YouBot.xml |
- Note
- Again, replace the robot file and robot node set to match your robot.
To continue, start the scenario using the GUI or the CLI:
\verbatim
${ArmarXCore_DIR}/bin/armarx scenario start YouBotSimulation -p YouBotTutorial
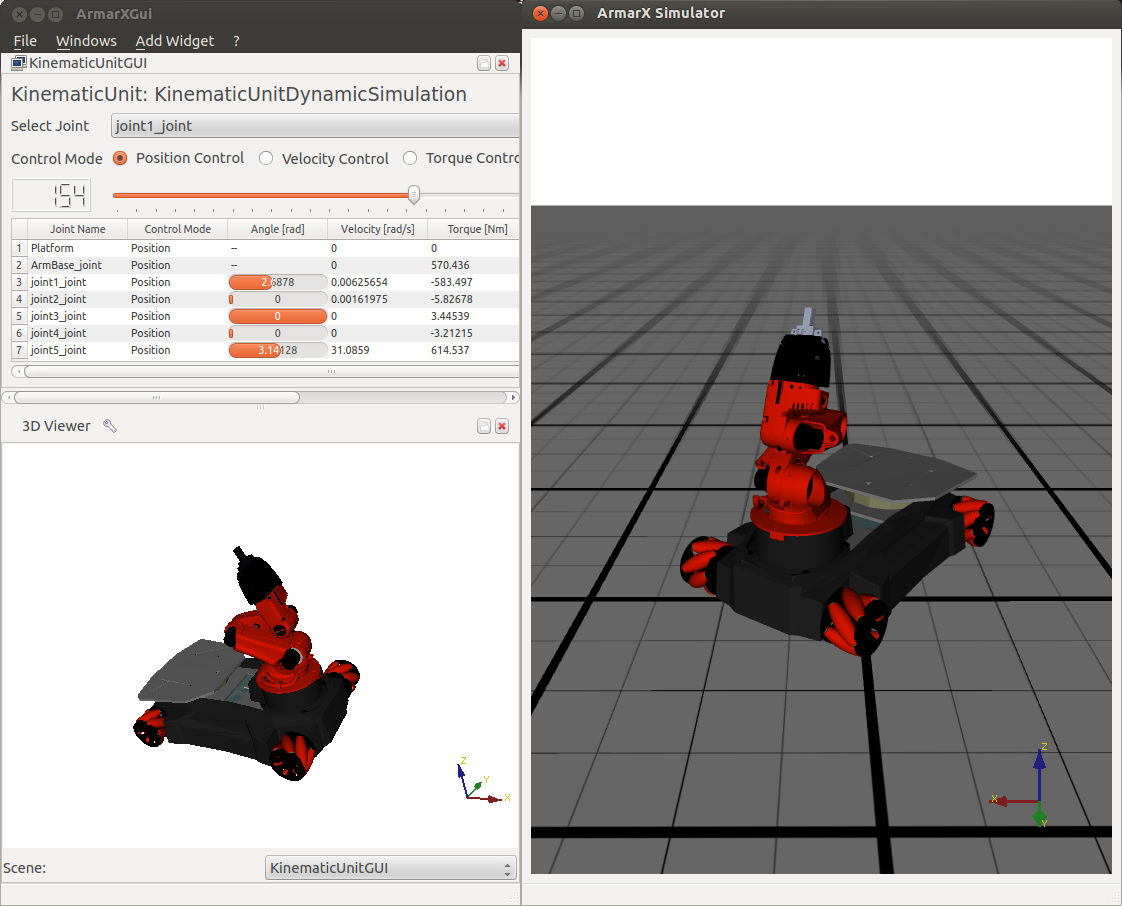
You should already see the simulation. In ArmarXGui, Add Widget -> RobotControl -> KinematicUnitGUI and setup your robot. Any joint angle changes you make in the KinematicUnitGUI should be reflected in the simulation. Your setup should look similar to this: