Table of Contents
How to setup the simulated environment
The simulator can be configured as follows:
- Environment setup
- The simulator can be initialized with a snapshot from the memoryx::LongtermMemory. THis option loads snapshot to the memoryx::WorkingMemory and initializes the scene of the dynamic simulation accordingly.
ArmarX.ArmarXPhysicsWorld.LongtermMemory.SnapshotName = <name of snapshot>
- Another option is to load a Simox scene directly (in this case, the objects are not loaded to working memory):
ArmarX.ArmarXPhysicsWorld.SceneFileName = <name of scene.xml file>
- The simulator can be initialized with a snapshot from the memoryx::LongtermMemory. THis option loads snapshot to the memoryx::WorkingMemory and initializes the scene of the dynamic simulation accordingly.
- A robot can be placed in the world:
ArmarX.ArmarXPhysicsWorld.RobotFileName = <robot.xml file>
ArmarX.ArmarXPhysicsWorld.InitialRobotPose.x = <x (mm)>
ArmarX.ArmarXPhysicsWorld.InitialRobotPose.y = <y (mm)>
ArmarX.ArmarXPhysicsWorld.InitialRobotPose.z = <z (mm)>
ArmarX.ArmarXPhysicsWorld.InitialRobotPose.roll = <roll (rad)>
ArmarX.ArmarXPhysicsWorld.InitialRobotPose.pitch = <pitch (rad)>
ArmarX.ArmarXPhysicsWorld.InitialRobotPose.yaw = <yaw (rad)>
- Logging of the robot's joint position and velocity values can be enabled/disabled with:
ArmarX.ArmarXPhysicsWorld.LogRobot = <0/1>
- Floor:
ArmarX.ArmarXPhysicsWorld.FloorTexture = <floor texture file>
ArmarX.ArmarXPhysicsWorld.FloorPlane = <0/1>
- Rendering setup. Antialiasing slows down rendering but increases the quality:
ArmarX.ArmarXSimulationControl.ShowBaseCoordSystem = <0/1>
ArmarX.ArmarXSimulationControl.AntiAliasingRenderPasses = <0/1/...>
ArmarX.ArmarXSimulationControl.ReportFrequency = <f, default: 30>
- Execution parameters of the dynamic simulation
ArmarX.ArmarXPhysicsWorld.FixedTimeStepStepTimeMS = <ms of one timestep, the lower the better the simualtion (1 is a good value)>
ArmarX.ArmarXPhysicsWorld.FixedTimeStepLoopNrSteps = <number of internal simulation loops per simulation step>
How to customize a default scene for your scenario
The basic setup of the simulated scene can be found here: How to setup the simulated environment
If you need to adjust a default scene (e.g. to customize a scenario for testing), you may want to use a SceneModifier in your scenario startup code. An exemplary configuration file is provided in the following code snippet. The object must be available in the memoryx::PriorKnowledge. See memoryx::PriorMemoryEditorPlugin for further details on how to add objects to the prior memory. Note, that the objects are not loaded to the working memory, you need to have a recognizer component doing this.
If you need more than one object, you only have to modify your SceneModifier. There you have to number consecutively (from 0 to 9) the properties of your objects like:
Attention: The "ObjectInstanceName" have always a prefix, like "_0". Don't forget to increment this prefix. If you only need one object you don't need the numbers.
How to use custom visualization features during runtime (DebugDrawer Topic)
The simulator is capable of showing a debug drawing layer (see armarx::DebugDrawerComponent). An exemplary usage looks like this:
DebugDrawerInterfacePrx prxDD = getTopic<DebugDrawerInterfacePrx>("DebugDrawerUpdates");
if (prxDD)
{
        // draw in global coordinate system
        Eigen::Matrix4f p;
        p.setIdentity();
        p(2,3) = 1000.0f;
        PosePtr gp(new Pose(p));
        prxDD->setPoseDebugLayerVisu("testPose",gp);

        armarx::Vector3Ptr p1(new armarx::Vector3());
        p1->x = 0;
        p1->y = 0;
        p1->z = 0;
        armarx::Vector3Ptr p2(new armarx::Vector3());
        p2->x = 1000.0f;
        p2->y = 1000.0f;
        p2->z = 1000.0f;

        armarx::DrawColor c;
        c.r = 1.0f;
        c.g = 0;
        c.b = 0;
        c.a = 1;
        prxDD->setLineDebugLayerVisu("testLine", p1, p2, 2.0f, c);
}
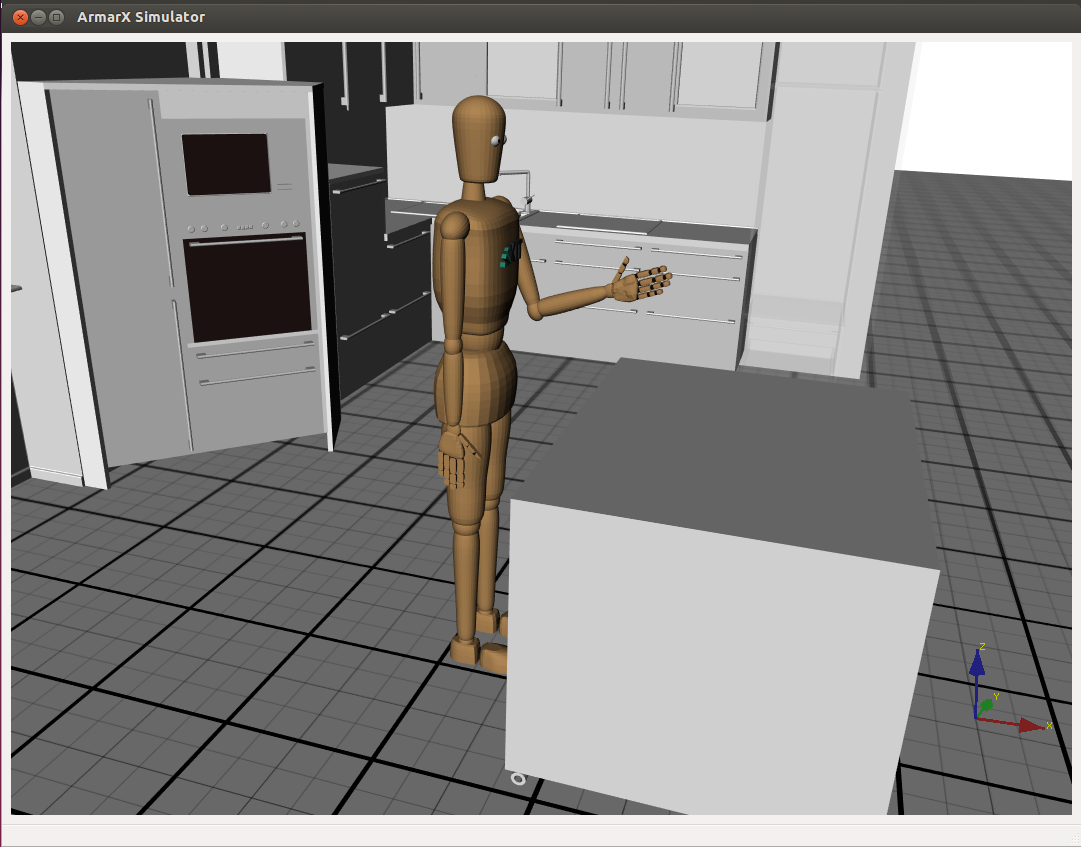
How to simulate a human with the ArmarXSimulator
The ArmarXSimulator can be used to simulate an abstracted model of the human body as defined by the Master Motor Map framework (see http://mmm.humanoids.kit.edu/ for details). The model is located at the RobotAPI data directory. Internally the model is represented as a robot, which means it can be accessed similarily (e.g. the KinemticUnit gui can be used to control the poseture of the model).
Simulate a human with the MMM simulation scenario
An exemplary usage is provided in the MMMSimulation scenario which is located in the Tutorials/TutorialSimulation package.
The model can be added to the simulater in a kinematic mode, which means that no gravity or other forces act on the bodies. In this mode the model can be actuated in position control mode, e.g. via the KinemticUnitGui.
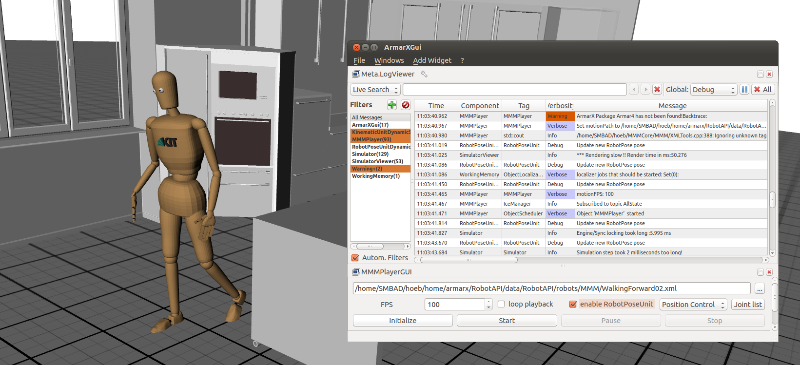
Play back an MMM motion file for the human reference model
Motion files are stored in the MMM reference format, which is also used to store captured human motions in the KIT human motion database (https://motion-database.humanoids.kit.edu/).
To play back an MMM motion file, you need the MMMPlayer component which is located in the RobotComponents package and depends on the MMMCore and MMMTools packages (see http://mmm.humanoids.kit.edu/ for details). First you need to start the MMM simulation as described above. Then you can start the PlayMMMMotion scenario in the RobotCompoennts package. Finally you can control the palyback via the MMMPlayerGUI.
How to sync all components with Simulator time
The documentation has been moved to ArmarX VirtualTime.
