Table of Contents
Objective: Learn how to pass parameters to your skill (using the Skills.Manager in ArmarX GUI).
Previous Tutorial: Create a Skill
Next Tutorial: Using Subskills
Reference Code: skill_tutorials
Create the Parameters
First create a skill (skill_library and skill_provider) as described in the previous tutorial Create a Skill. If you followed along you may also just use the one created earlier. We will use a new skill use_parameters inside the same package.
- Note
- When creating multiple skills in one packgage with the
armarx-package-tool you may have to change the order of the add-subdirectories in the firstCMakeList.txtfile in your source folder based on the dependencies of your code (e.g. here we need to putadd_subdirectory(use_parameters)beforeadd_subdirectory(components))
CMakeList.txt:
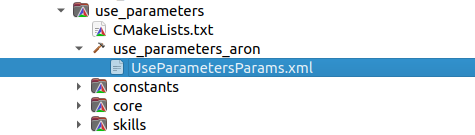
Ok, then let's take a closer look at the aron file that has already been created by armarx-package in use_parameters/aron. You can see it has the typical xml layout, with an element AronTypeDefinition containing an element GenerateTypes containing an element Object with the name ::skill_tutorials::use_parameters::arondto::UseParametersParams.
This [...YourSkillName...]Params aron data type is used to store and transmit the parameters that your skill is to get when being invoked. We use an aron type instead of a plain C++ struct to allow sending it over the network (important when using the skill manager GUI) and to enable calling the skill from other languages as well, for example, from python. To learn more about ARON and the data types available in it, have a look at ArmarX Object Notation (ARON) / Interpretable Data Format (IDF).
Inside the mentioned Object element, there should already be one predefined ObjectChild element. You can add as many ObjectChildren as you want. For all of them, the corresponding (C++-)code will be autogenerated, so that you can access the UseParameterParams's attributes in your code, as well as set their values in the Skills.Manager of an ArmarX GUI.
Let's change the pre-generated parameter and add a second one. Afterwards, this could look as follows:
UseParametersParams.xml:
And let's also set the default parameters, which are defined in skills/UseParameters.cpp.
skills/UseParameters.cpp:
Remember to tell Cmake and the skill provider about your library (hint: see last tutorial) and build the project once.
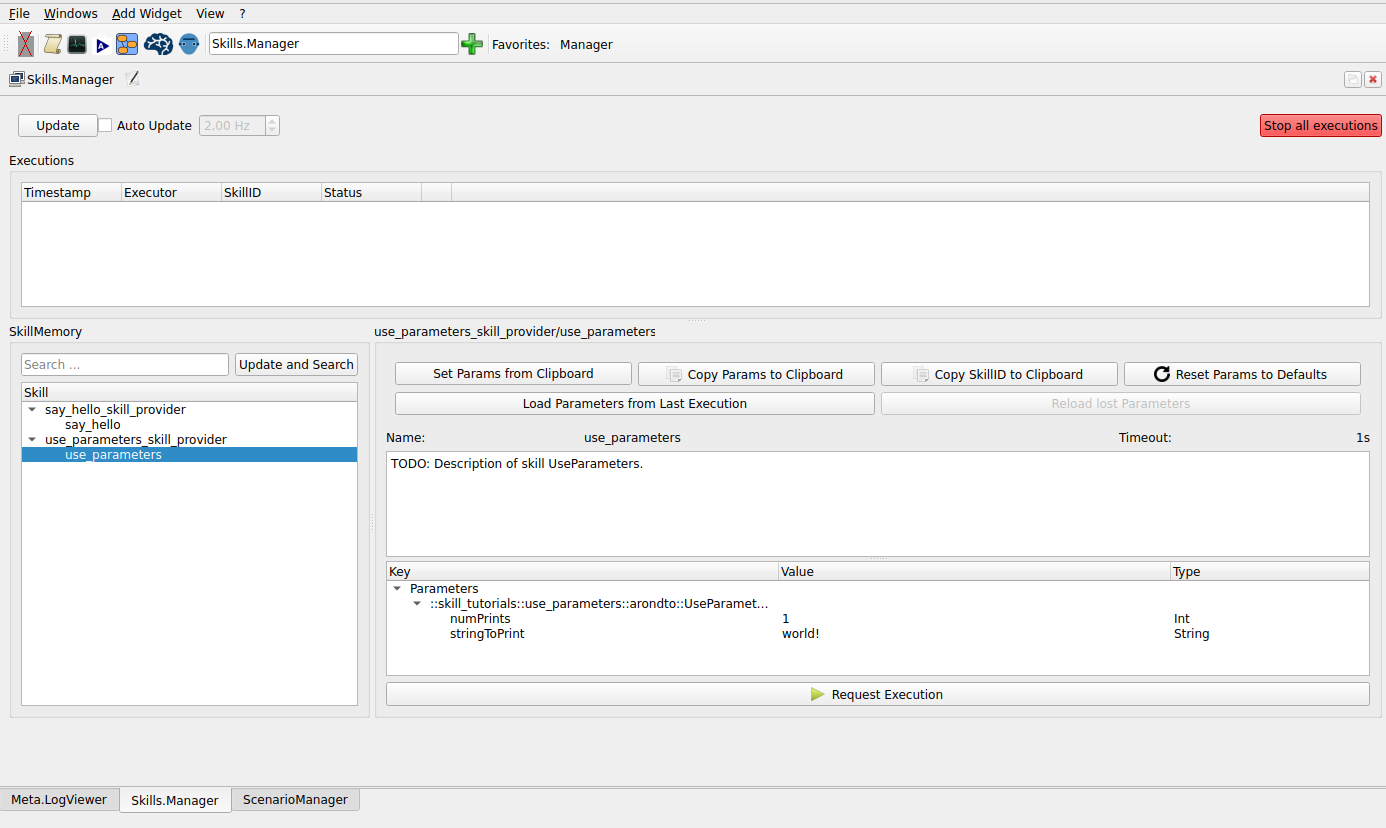
Let's take a look at what this already changes in the GUI. Start ArmarX and the GUI if you haven't already and open the ScenarioManager. Create a new scenario named UseParameters and add the skill provider of your new skill. If you still have your SayHello scenario available, you don't need to include the other applications a second time, just make sure they are running. Afterwards, open the Skills.Manager as in the previous tutorial Create a Skill.
In the Skills.Manager, you can now find the parameters that you have defined and their default values. You can change a parameter's value by double-clicking on it.
Passing the Parameters to the Core
Ok, then let's do something with these parameters now! Go back to your editor and open the skills/UseParameters.cpp. If you look at the main function you can see it has an argument named in of type SpecializedMainInput. SpecializedMainInput has an attribute parameters, which corresponds to the aron object of the type you defined in the UseParametersParams.xml. So now we need to take these parameters and get them to our core. A good way of doing this, while ensuring that the core can still be used without unnecessarily many dependencies, is to have all these parameters as properties of the core and then overwrite these with the parameters.
The most readable and re-usable approach is to define a custom Properties struct, of which the individual parameters are plain C++ members.
- Note
- Just to be mentioned: An alternative version, which is slightly faster to implement, is to use the arondto as the (only) member of the Properties. To do so, you have to perform the following replacements in the code listings below:
- In
core/UseParameters.h, replacestruct Properties { ... };bystruct Properties { arondto::UseParametersParams params; };. - In
skills/UseParameters.cpp, replacecore::UseParameters::Properties p{ ... };bycore::UseParameters::Properties p{ .params = in.parameters };. Nevertheless, we will continue with the plain C++ members.
- In
Creating the properties in the core can look like this:
core/UseParameters.h:
And you can set the properties of the core like this (make sure you are actually inside the correct directory), so that they correspond to the aron data type you just defined:
skills/UseParameters.cpp:
To summarize: In skills/UseParameters.cpp we get the parameter values from our gui input (that's what the in.parameters-part is used for) and give the values to the parameters we defined under struct Properties in core/UseParameters.h.
Use the Parameters
Ok, now that we have successfully passed through the parameters to our core we can use them to do things. So let's go back to the core and print something.
In this tutorial we want to use the GUI input of the parameter numPrints to set the number of iteration of a loop that prints something to the logger.
The code to do so could look like this:
core/UseParameters.cpp:
As mentioned in the previous tutorial, the functionality of the skill is implemented in _execute().
You can now build your project and restart it in the ScenarioManager. If you now click on Request Execution in the Skills.Manager, you should see your message, changing according to how you parameterize the skill execution. Go ahead and change the parameters and see how the messages change.
- Note
- If you just try printing the same message muliple times, the built-in spam protection might block all but the first message.
Great, you did it!