Prerequisites: ArmarXCore tutorials (statechart and scenario handling)
In this tutorial you will be given a short description of the task that you need to accomplish and some implementation hints. The expected results will be presented in form of screenshots and a video. Since this tutorial is meant to be solved by the reader, the full implementation will not be shown.
Description of the task
The main goal is to make Armar3 use his right hand to trace a rectangular trajectory using velocity control. Since you will be using velocity control, the TCP will not precisely follow the given trajectory. Therefore you need to employ a control policy which peridoically checks and corrects the position of the TCP.
You are expected to follow these constraints:
- Use the TCPControlUnit in velocity mode to control the robot's arm.
- Use the kinematic chain "HipYawRightArm"
- The rectangular trajectory should be configurable using the StatechartEditor
- Show the result in the Armar3Simulation scenario (package ArmarXSimulation)
- Visualize atleast the target trajectory using the DebugDrawer
Implementation hints
Declaring the proxies
Your statechart group will need access to the following proxies:
- [RobotAPIInterfaces] TCPControlUnit: Control the TCP's velocity
- [RobotAPIInterfaces] Robot State Component: Query the current position of the TCPControlUnit
- [RobotAPIInterfaces] Debug Drawer Topic: Visualize the target trajectory and other information
Determining the start position
The first action the robot should do is move its arm into a start configuration. To find a suitable pose you can use the the GUI plugin RobotIK. To use this plugin make sure to start the scenario Armar3Simulation. Then add two widgets to the ArmarXGui:
Visualization -> RobotViewerGUIRobotControl -> RobotIK
In the RobotIK GUI select the kinematic chain "HipYawRightArm" and move the TCP to a suitable position. Then open the RobotViewerGUI, select the correct kinematic chain and copy the joint values of this chain. The format is already a Map(float) in JSON as expected from the startchart.
An example could look like this:
You can use the existing statechart JointPositionControl which is part of the MotionControlGroup to implement the initial movement. Make sure to wait a little bit after reaching the starting pose. Otherwise the robot may not have fully stopped moving.
Querying the current robot state
We can use the Robot State Component proxy to access the current state of the robot. You can create a local VirtualRobot model which is periodically synchronized with the real robot.
Using velocity control for the TCP
In this tutorial you are required to use the TCPControlUnit to control the arm. Before you can use the unit you have to request it once. Do this during the onEnter() method of your statechart:
Make sure to set the velocity to zero and release the unit before exiting your statechart:
To set a velocity relative to the current robot's tcp position you can use this code fragment:
Using the debug drawer
You can use the debug drawer to visualize the trajectory and other information. This example code draws a yellow sphere at the closest point on the line. Keep in mind that the debug drawer expects coordinates in the global frame whereas most of your calculations will take place in the robot frame.
Feel free to explore other visualization possibilities by examining the methods of the debug drawer.
Expected result
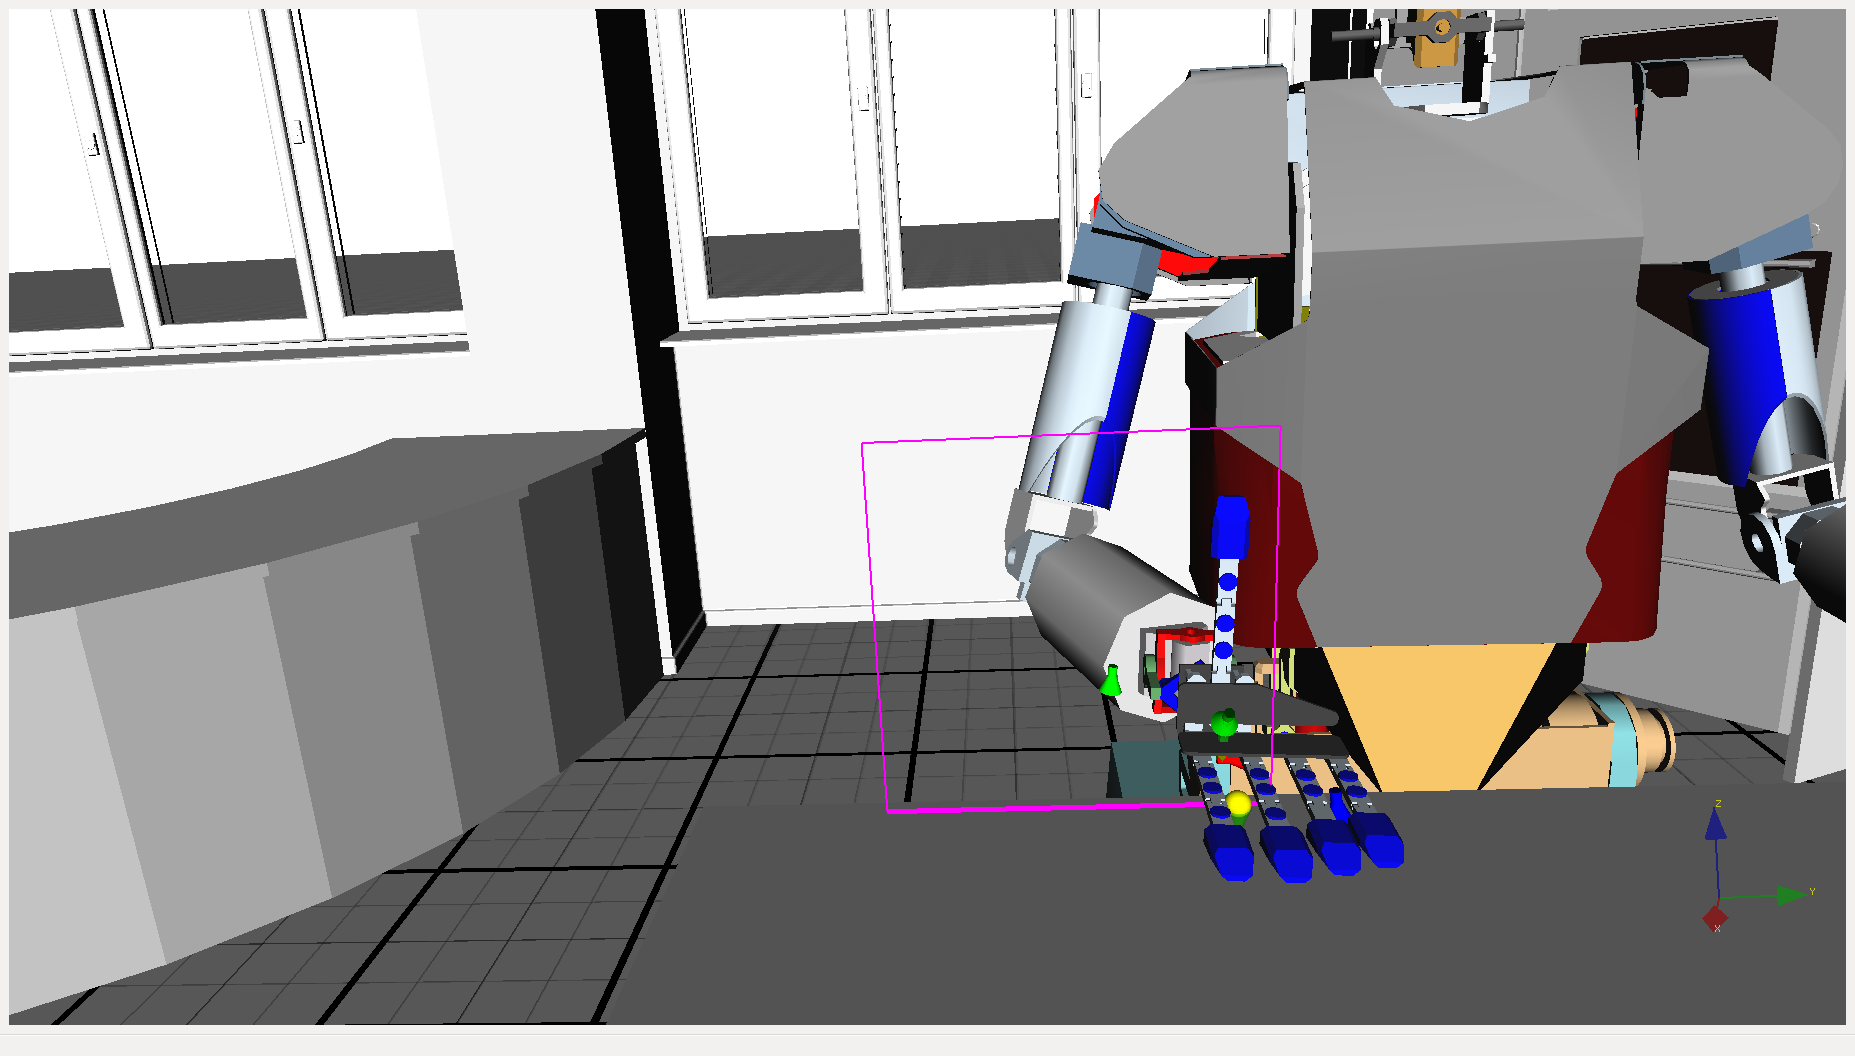
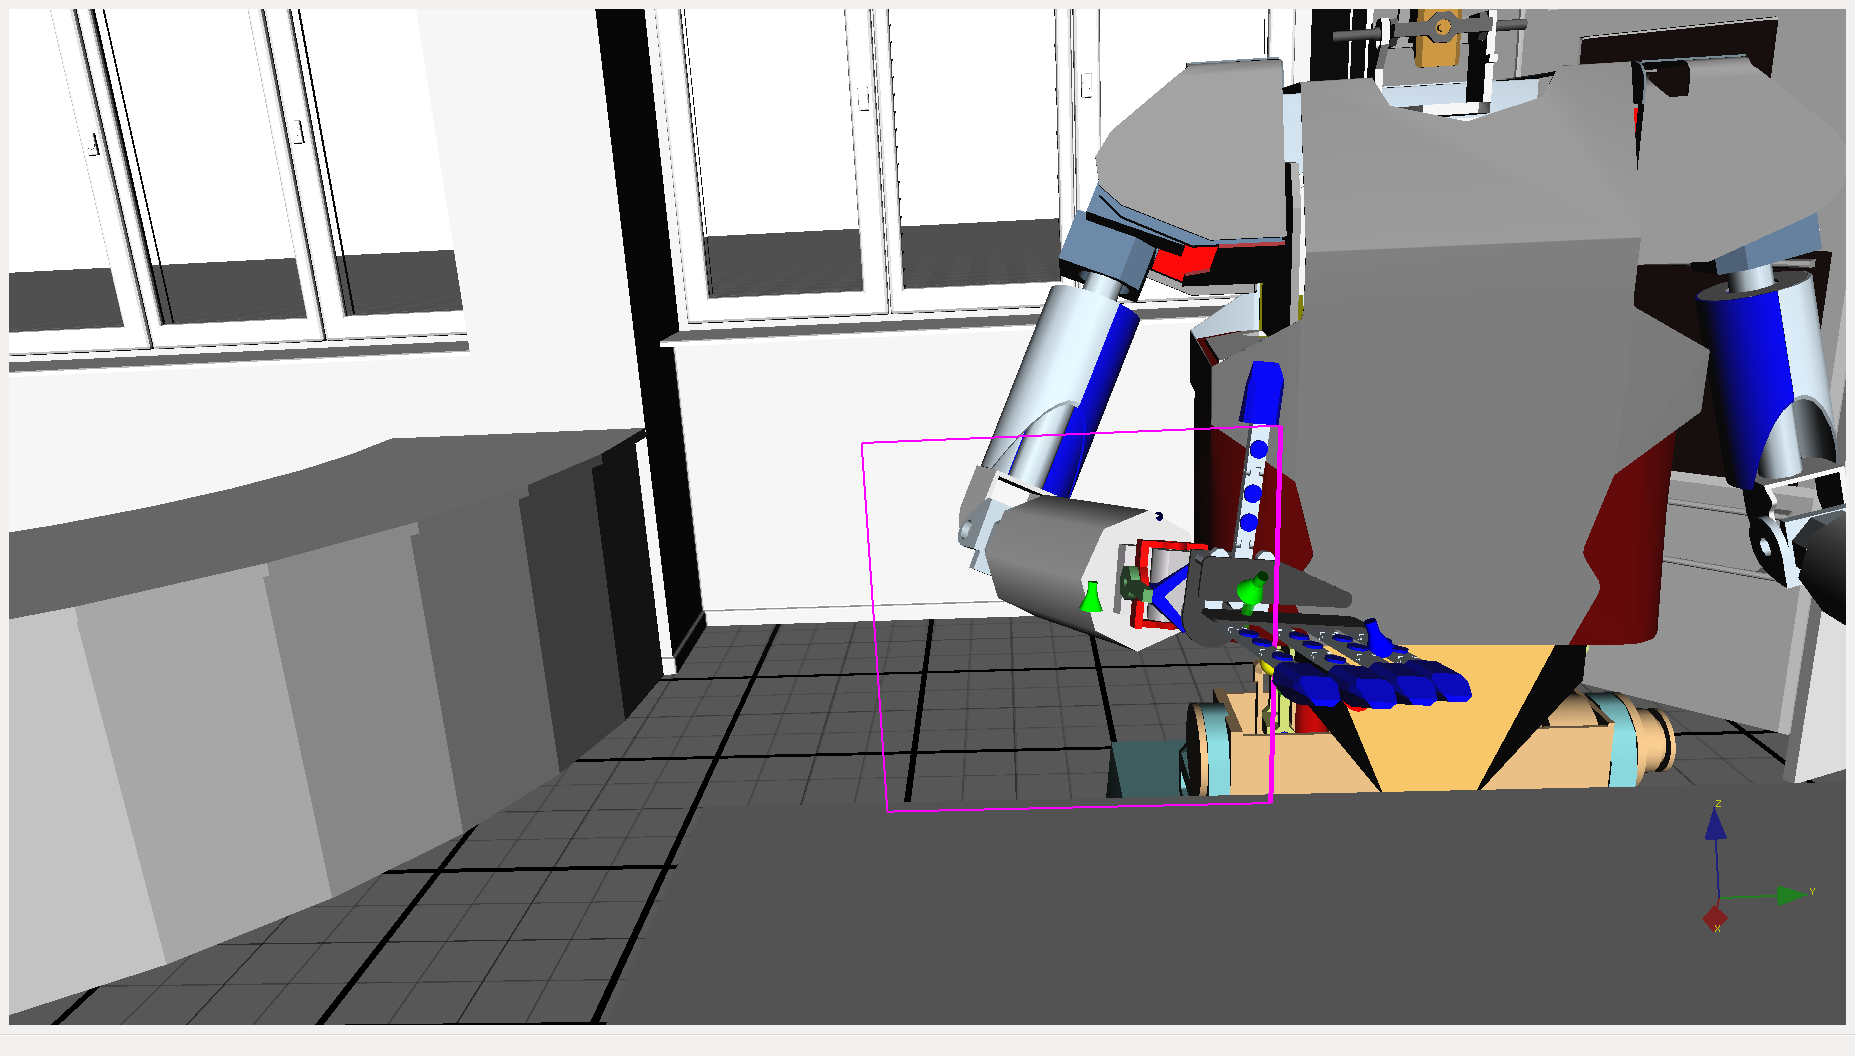
The robot should first move to its right hand to the start pose and the follow a rectangular trajectory as shown in the follwing video. You will see that the target trajectory is highlighted in pink. The yellow sphere shows the closest point to the TCP position on the current line trajectory.
Here are some screenshots of the simulator if you cannot watch the video: