Table of Contents
Objective: Explore ArmarX from a user perspective: Learn how to start and stop ArmarX background service, the ArmarX GUI, and the ARMAR-III simulation.
Previous Tutorials: Install ArmarX
Next Tutorials: Explore ArmarX (II): Interact with the ARMAR-III Simulation
Before we begin with developing new things in ArmarX, let's first have a look at what is already there. To this end, we will start a physics simulation with a model of the humanoid robot ARMAR-III in a kitchen environment and interact with it using the ArmarX GUI.
Start ArmarX
First, start the communication service of ArmarX:
You should see something like:
ArmarX is now running in the background.
You can check whether ArmarX is running with armarx status:
Let's see what we get when ArmarX is not running. So, stop ArmarX using
Now check the status. You should see something like this:
Try playing around with these commands a bit. Before you proceed, make sure ArmarX is running.
See ArmarX User CLI for details about the
armarxcommand.
Start the ArmarX GUI
Now, start the ArmarX GUI by running this command in a terminal:
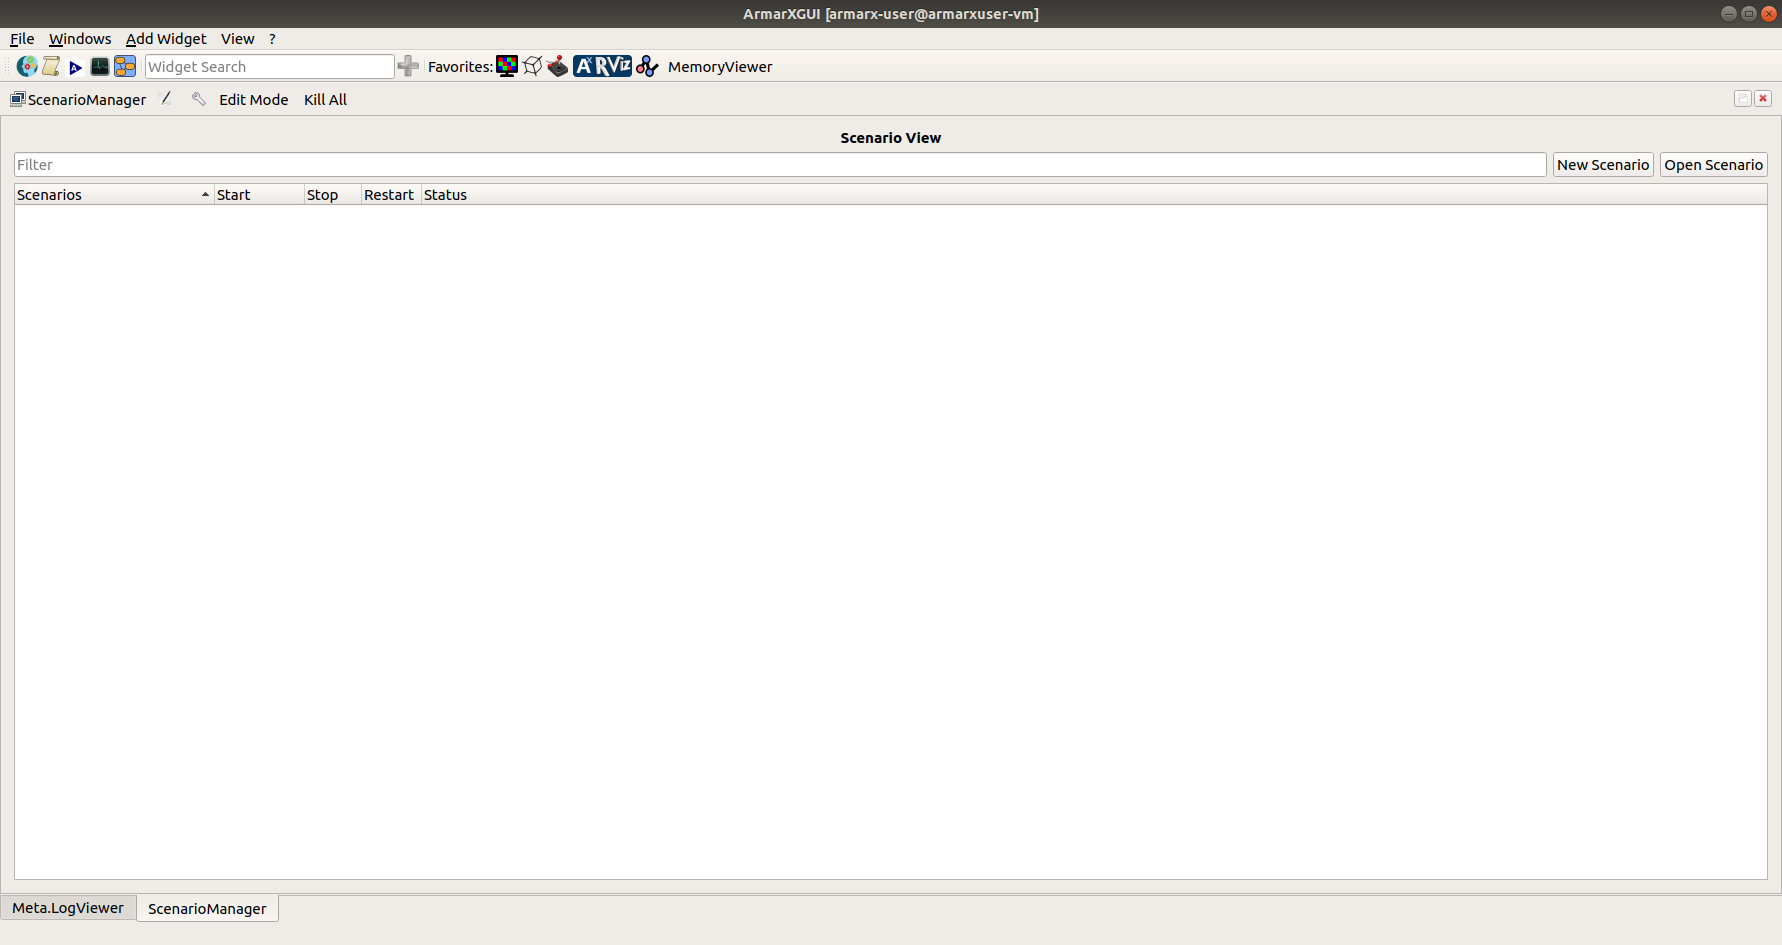
When the Use Case Selection pops up, just choose "Open empty GUI" for the start. The opened window should look something like this:
Take a moment to have a look at the terminal window where you ran the armarx gui command. You might notice that you cannot enter any commands there, because the GUI still occupies that terminal. This is normal and desired. In contrast to the armarx start command, which starts a background service and then returns, the ArmarX GUI will continue to run in that terminal until it is closed.
Try that now: Close the ArmarX GUI. After a few seconds, the terminal should show an input prompt again.
You can restart the GUI by pressing the up arrow key once to fetch the previous command, and press enter to run it. Do that now.
By the way, you can open multiple instances of the ArmarX GUI. So technically, you always open an ArmarX GUI, not the ArmarX GUI. To try that, open a new terminal window (or a new tab in the current one), and fire another armarx gui command. Cool, eh? This comes in handy when are running more complex scenarios or want to fill multiple monitors. For the moment, one GUI window is sufficient. But wait - let's try another (more ... malicious) way of closing the GUI. Go to a terminal where one of the GUIs is running. Then, check that no one is watching, and press Ctrl+C. This sends an interrupt to the running application, and causes the GUI to close. Fun, isn't it? Not really? Well, everyone is a critic, I guess. Anyway, now the terminal is free for use again.
- Note
- You are still interacting with the same underlying system in all GUIs (as long as the same workspace is active).
Interlude: What We Learned so Far
So, let's summarize what we learned so far:
armarx startstarts the ArmarX background communication service.armarx stopstops it.armarx statuscan be used to check whether ArmarX is running.armarx guiopen an (not the!) ArmarX GUI.armarx guican run simultaneously in multiple terminals to open multiple GUIs at the same time.- An ArmarX GUI occupies a terminal until it is closed.
- All GUIs are interacting with the same underlying system.
Let that sink in for a moment. Yeah, right there. Oh, by the way, don't try to find a way to start the GUI without opening a terminal, running the armarx gui command and leaving the terminal open to clutter your desktop. This is just the way it works, so you better get used to it.
If you really need to know, starting things from a terminal is necessary to guarantee a robust and well-defined environment (in terms of environment variables, such as
$PATH, etc.), where we can guarantee that applications, projects and code libraries can be found. In addition, it allows you to have multiple ArmarX workspaces, but this is not so important now.
Enter: GUI Widgets
You promised that we start that simulation with that robot of yours! Arma 3, wasn't it? When do we come to that?
... I hear you ask. Yes yes, we come to that now. Oh, and it's "ARMAR-III". Just to let you know, and ...
Anyway! Let's do something with that ArmarX GUI that we are so fond of starting and stopping. Have a look at the GUI as it opened:
At the top, you can find a menu and a hotbar:

We will come to that in a second.
The rest of the window is filled by the LogViewer. The LogViewer is a GUI widget, which displays the log of ArmarX applications in a graphical way. You should already see some log entries by the GUIs themselves. The LogViewer is very useful, and you will want to have one open and visible almost all the time.
Now, to actually start some of these ArmarX applications, we need another widget: The ScenarioManager. You can start it in several ways, but we will start with this one:
- Open the Add Widget menu
- Navigate to Meta
- Press ScenarioManager
Now, your GUI should look like this:
Okay, now —
Hold on! Now I cannot see the log anymore. Didn't you tell me I should have it always open?
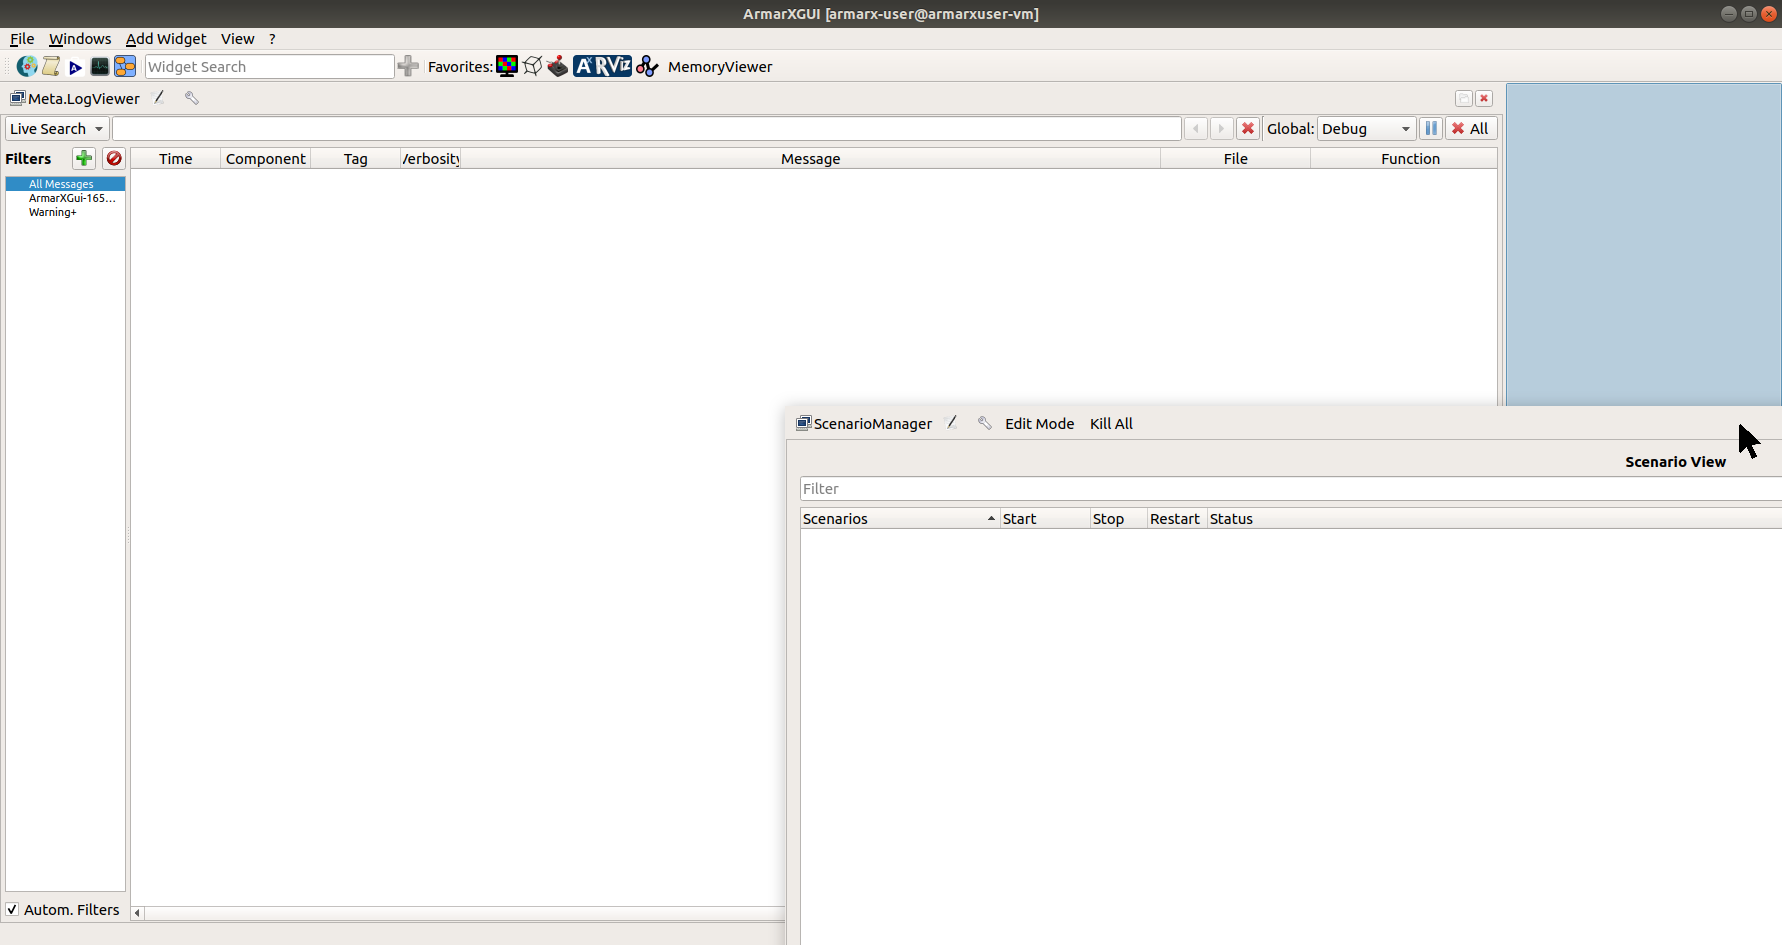
Hm, yeah, I guess you are right. Okay, let's fix this real quick. You can drag-and-drop the different GUI widgets to rearrange them in the GUI window. The "handle" for that is the bar just above the widget's name (orange area). Grab it, and move it to the right edge of the window (green area), holding your mouse button.

When you are close to an edge while dragging a widget, the GUI makes space for you to drop the widget (blue area).
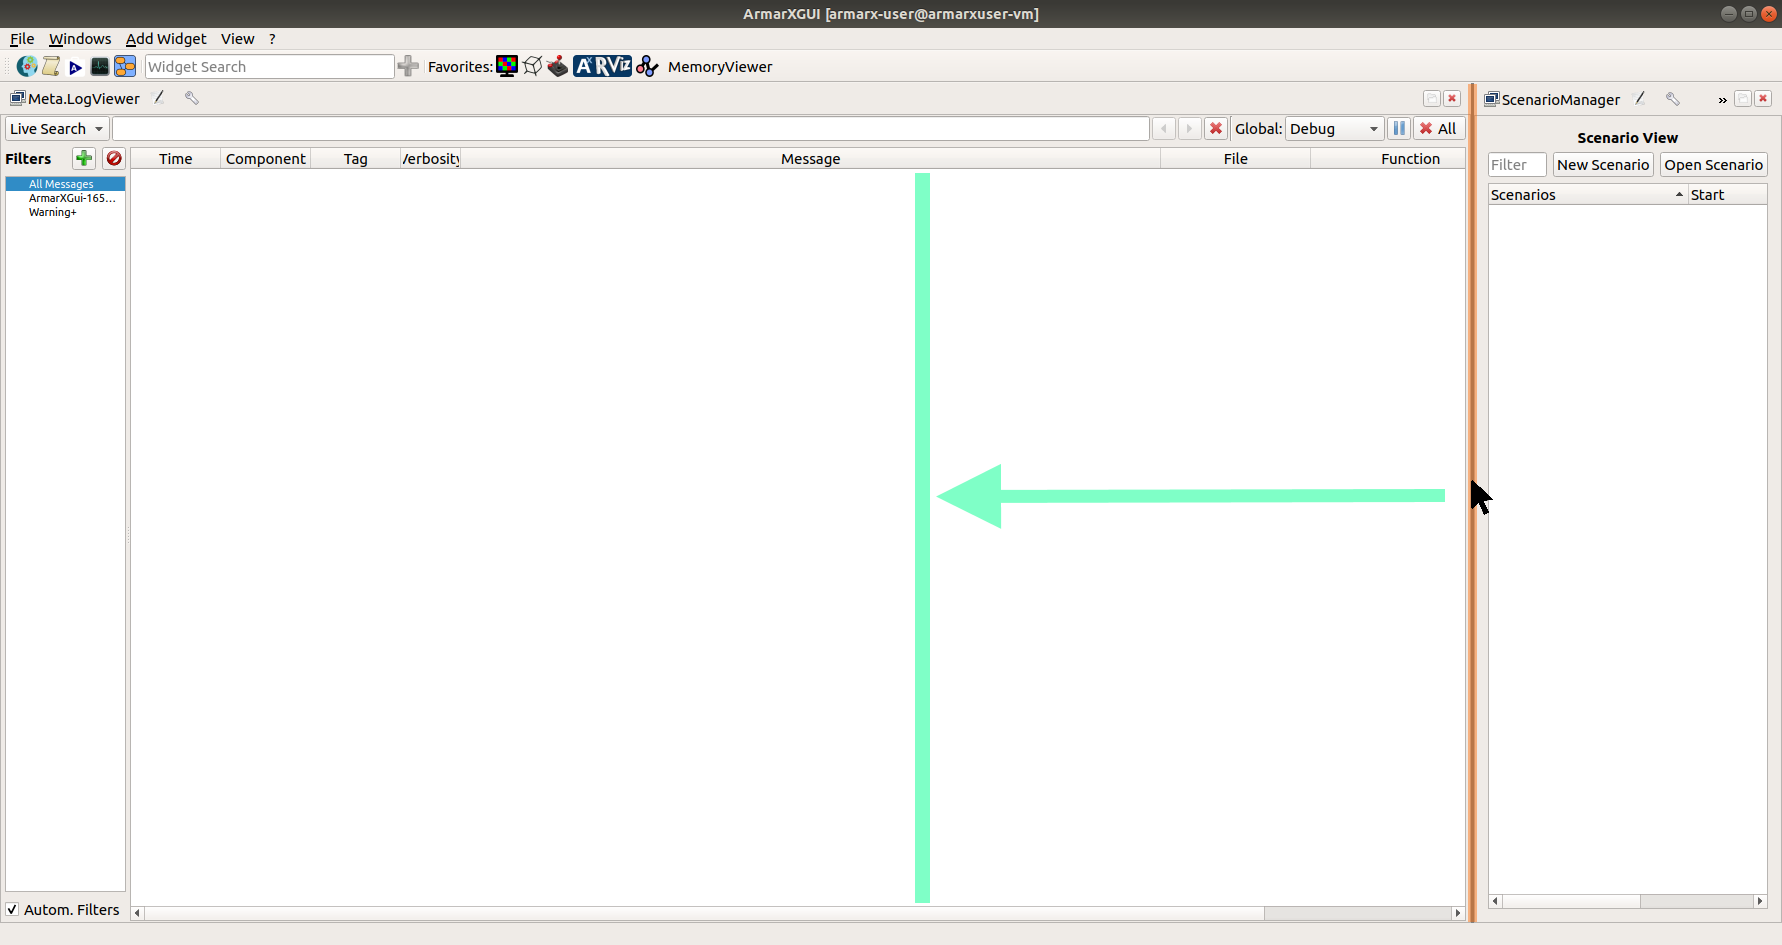
Release the widget, and it snaps into place:

Now the scenario manager is very narrow. Luckily, you can resize the widgets by dragging their boundaries. Grab the boundary in the orange area and move it to the center of the window.
Then, let go of it.
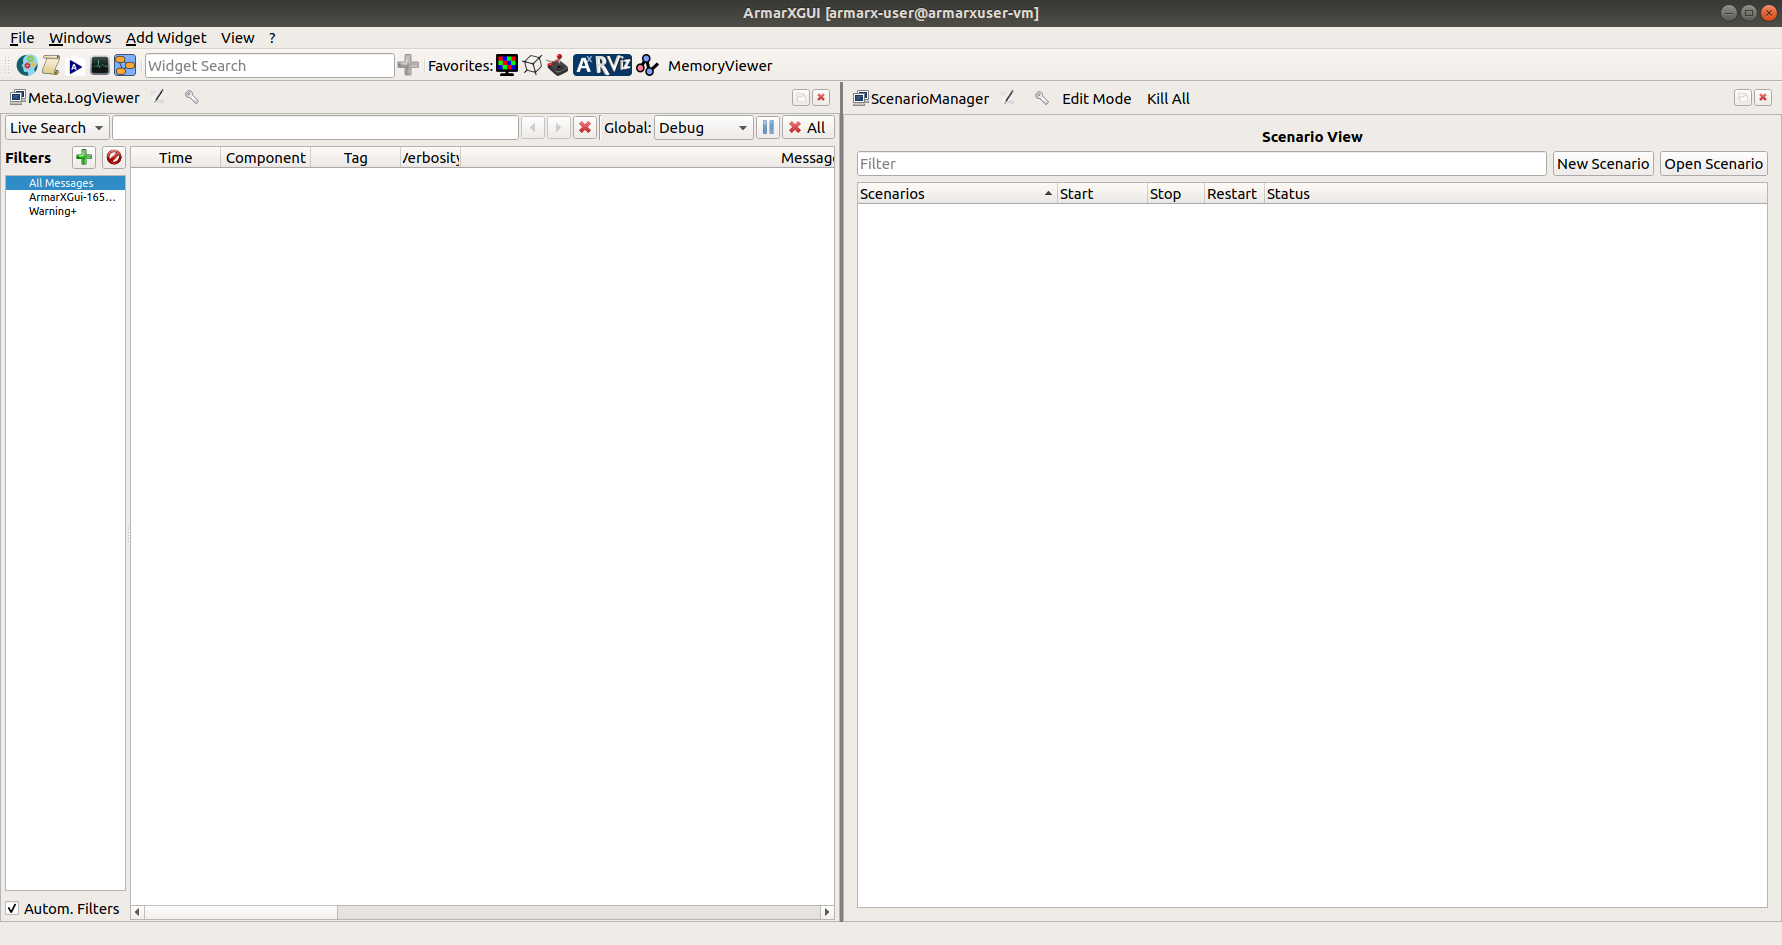
Cool, now I can see both the log viewer and the scenario manager!
Yes, definitely better. Okay, where did we stop ...
The simulation.
Yes, of course! Ok, ok, I bet you are wondering why we opened the scenario manager ...
The Scenario Manager: Start and Stop Multiple Applications at Once
The scenario manager is used to start and stop scenarios. A scenario is a collection of applications and their configuration (e.g. parameters). The ARMAR-III simulation is such a scenario. First, we have to open it.
Open a Scenario
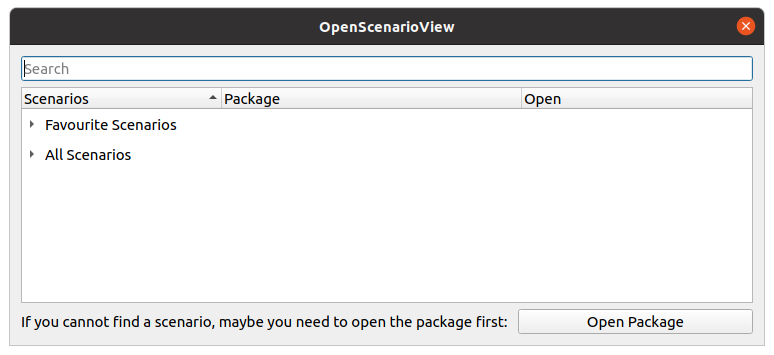
For that, press Open Scenario. A dialog like this should pop up:
We are looking for the scenario **"Armar3Simulation"**. In the search field, type "Armar3Sim". This should narrow down the list to something like this:
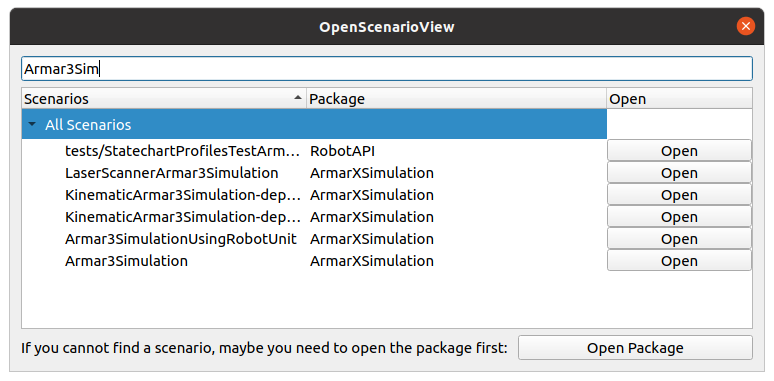
Wait, I don't have all these entries! My search result is almost empty.
Oh, I see. Every scenario is part of an ArmarX package (e.g. ArmarXCore, ArmarXGui, etc.). The scenario "Armar3Simulation" is part of the ArmarX package ArmarXSimulation. To allow the scenario manager to find a scenario, the containing package must be open. So if the scenario "Armar3Simulation" is not listed for you, it might be because the package ArmarXSimulation was not opened yet.
- Note
- If the scenario "Armar3Simulation" is listed for you, you can skip the next step.
Open a Package in the Scenario Manager
In the open scenario dialog, press the button Open Package. Another small dialog like this should pop up:

Here, enter the package name ArmarXSimulation.
If the package is found (the package name must match exactly), the icon should turn green and the absolute path to the build/config/ directory of the package should be shown like this:

If the package was found, press Ok.
If a package is not found even with the correct name, make sure that:
- CMake was run in the package (done by
axii workspace prepareor, when being in one of the package's directories,axii workspace prepare --this --no-deps). If thebuild/directory is empty, CMake was not run yet. You can also try a manualcmake ..when being inside the package'sbuilddirectory to check whether CMake is able to configure the package.- The environment variable
PackageName_DIRis set (e.g.ArmarXSimulation_DIR,armar6_skills_DIR). You can check that with the commandecho $PackageName_DIR. These variables are usually configured by Axii (if the corresponding module is enabled) and exported when your workspace is enabled.- Your workspace is active:
axii workspace whichorecho $ARMARX_WORKSPACE. You can activate your workspace byaxii workspace activate my-workspaceor, manually, by sourceing itsarmarx-workspace.rcfile:source my-workspace/armarx-worksapce.rc.
This should bring you back to the open scenario dialog (if not, open it by pressing Open Scenario). Edit the term in the search bar a bit to update the search (or enter "Armar3Sim" again). Now, the results should contain the scenario "Armar3Simulation".
Finally, press Open next to the scenario "Armar3Simulation".
Summary: Opening a Scenario
To open a scenario:
- Open the scenario manager widget (if not open yet).
- In the scenario manager, press Open Scenario.
- Search for the desired scenario or browse the list.
- If the scenario you are looking for is not listed, you might need to open the ArmarX package containing the scenario using Open Scenario, first.
- Press Open next to the scenario.
Start the ARMAR-III Simulation Scenario
The scenario manager should now show the scenario "Armar3Simulation". You can expand it to see what's inside:
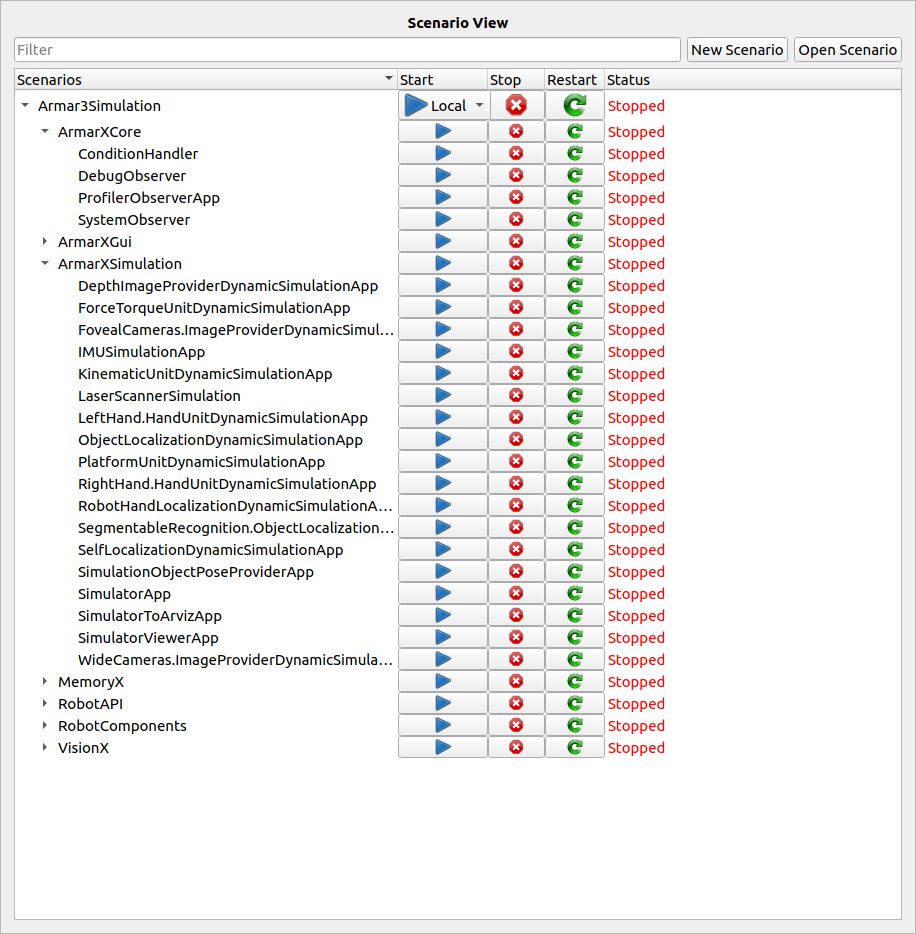
Let us first note what we can see:
- The scenario is a collection of applications (e.g. "SystemObserver", "SimulatorApp").
- The applications are grouped by packages (e.g. "ArmarXCore", "ArmarXSimulation").
- There are buttons to start, stop and restart each application, package, and the complete scenario.
- The status ("Stopped") is shown for each application, package and the scenario.
As you can see, there many applications in this scenario. But don't worry too much about that for the moment. For now, just press the blue "Play" button at the top to start the whole scenario. The applications should turn green over time, and a display of the ARMAR-III simulation should show up.

If you see warnings or errors about the "mongo db" not being available, run
armarx memory starton a terminal. In the future, this will probably not be necessary anymore.
Nice! The ARMAR-III simulation is running. Try navigating in the 3D view for a bit.
Next Up
Okay, this is enough for this tutorial. If you are up for more, keep the simulation running: We will continue with interacting with the simulation in the next tutorial.
