Getting point clouds from a provider
The VisionX pipeline is a chain of components that process point clouds. Therefore, point clouds have to be provided in the first component.
Creating the scenario
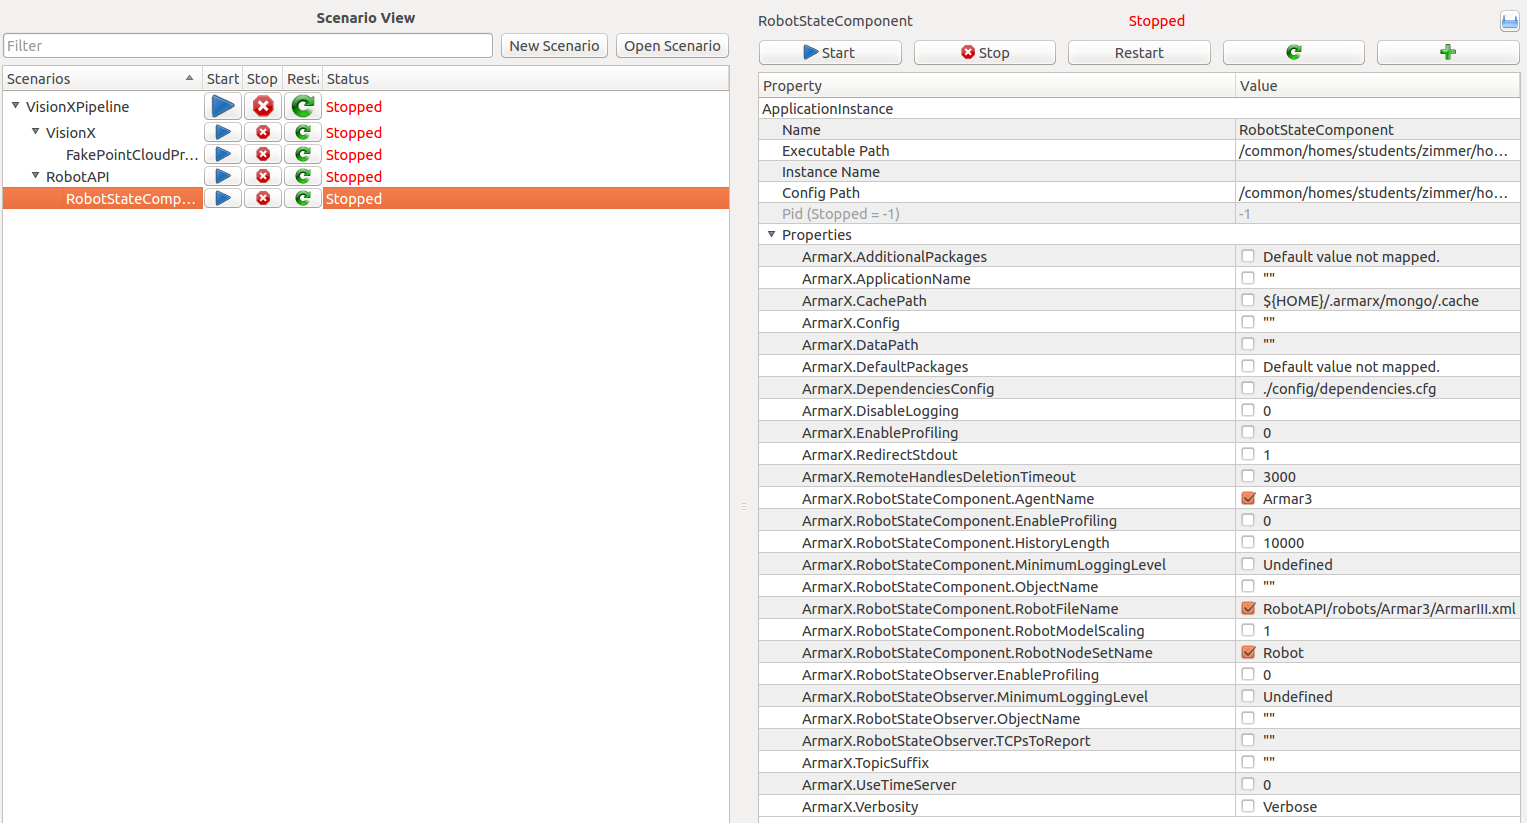
Create a new scenario in the VisionX package using the ScenarioManager and add the FakePointCloudProvider component. As the provider depends on the RobotStateComponent, it has to be added as well.
Using the standard configuration, the FakePointCloudProvider alternatingly provides the three point clouds located in VisionX/data/VisionX/examples/point_clouds/. These point clouds are all relatively similar and show a scene of chair in front of a table.
Editing the pointCloudFileName variable in the FakePointCloudProvider config allows you to use another point cloud. In this tutorial the default point clouds will be used.
The RobotStateComponent needs information about the robot you are using. In its configuration, the AgentName, RobotFileName and the RobotNodeSetName have to be entered. If you don't have a specific robot in mind, just use the data for the Armar3 robot:
Executing the scenario
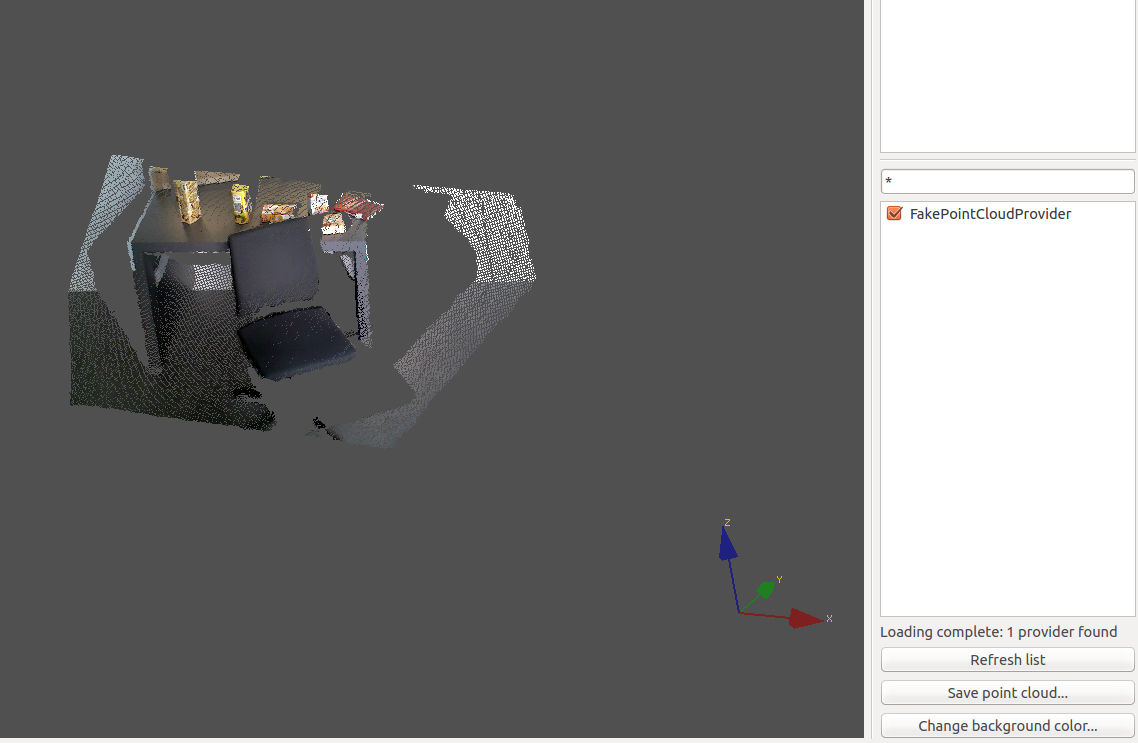
To test the provider, add the PointCloudViewer widget to the gui and start the scenario in the ScenarioManager. After refreshing and selecting the provider, the result should look similar to the image below.
- Warning
- Be sure to uncheck the point cloud you were viewing before stopping the scenario to avoid crashes of the ArmarX GUI!
If you want to avoid the rapid changes between the different scenes, you can change the file path to one the three scenes:
Other potential providers
Instead of using the stored point clouds, you can of course use live images.
If you are working with the Armar4 head, you can use the how to on Calculating point clouds with stereo vision which explains how point clouds can be generated using stereoscopy and the Armar4 head cameras.
If you want to work with a kinect-like camera like the Xtion PRO, the OpenNIPointCloudProvider will be able to provide these point clouds.
Segmenting the point clouds
Now that the point clouds are available, they can be segmented. To do this, add the PointCloudSegmenter to the scenario. It will continously try to find segments in the point clouds provided. Change the providerName, if you didn't use the FakePointCloudProvider in the previous step.
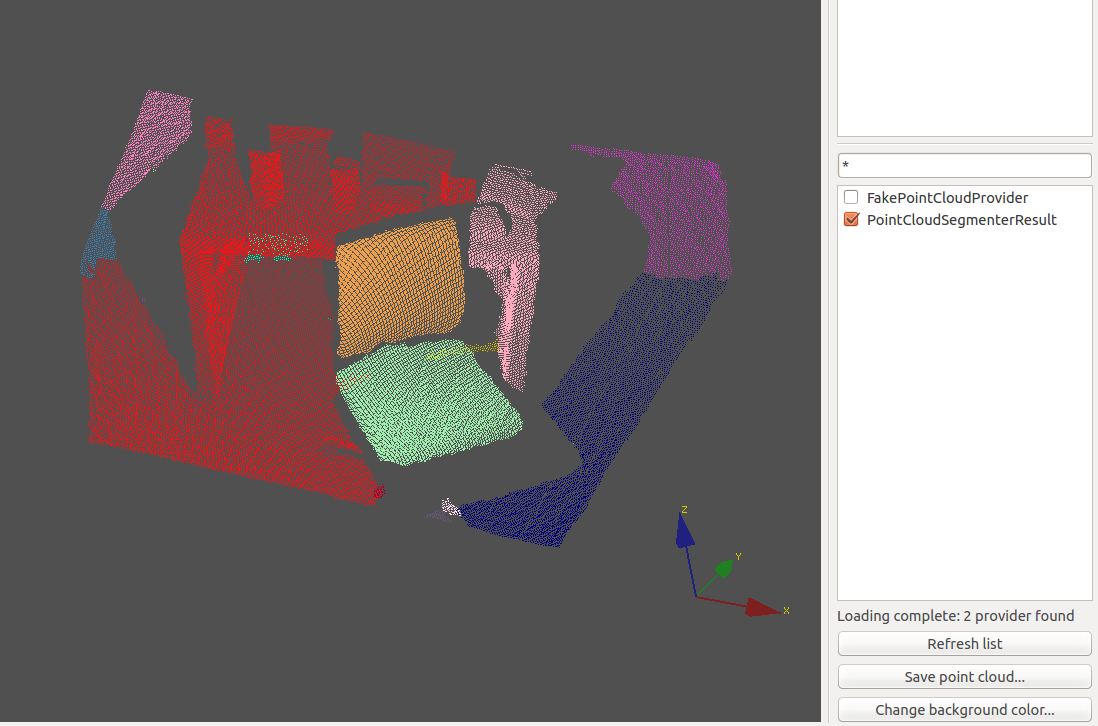
The quality of the segmentation highly depends on the segmentation parameters. Instead of EC, the LCCP method as the segmentationMethod is recommended. Regarding the rest of the variables, the lccpSeedResolution and the lccpVoxelResolution are the most important.
For the default scene, these parameters create decent results (as can be seen in the image below):
Of course you can try different parameters to see what works best for your scene (maybe also varying the other lccp variables).
Extracting primitives from the point clouds
The next component in the VisionX pipeline is the PrimitiveExtractor. It receives the segmented point cloud and tries to estimate shape primitives in the scene (planes, spheres, cylinders). Since the PrimitiveExtractor writes the estimated primitives to the memory, these memory components have to be added to the scenario as well:
WorkingMemory, PriorKnowledge, LongTermMemory and CommonStorage.
Here are the changes that need to be applied to the respective configurations:
WorkingMemory: no changes
PriorKnowledge:
LongTermMemory:
CommonStorage
The configuration of the PrimitiveExtractor includes many parameters which influence the performance of the estimation. Generally, all the parameters ending on ...DistanceThreshold or ...NormalDistance can be altered.
But for the scene in this tutorial, the default parameters actually produce an okay result:
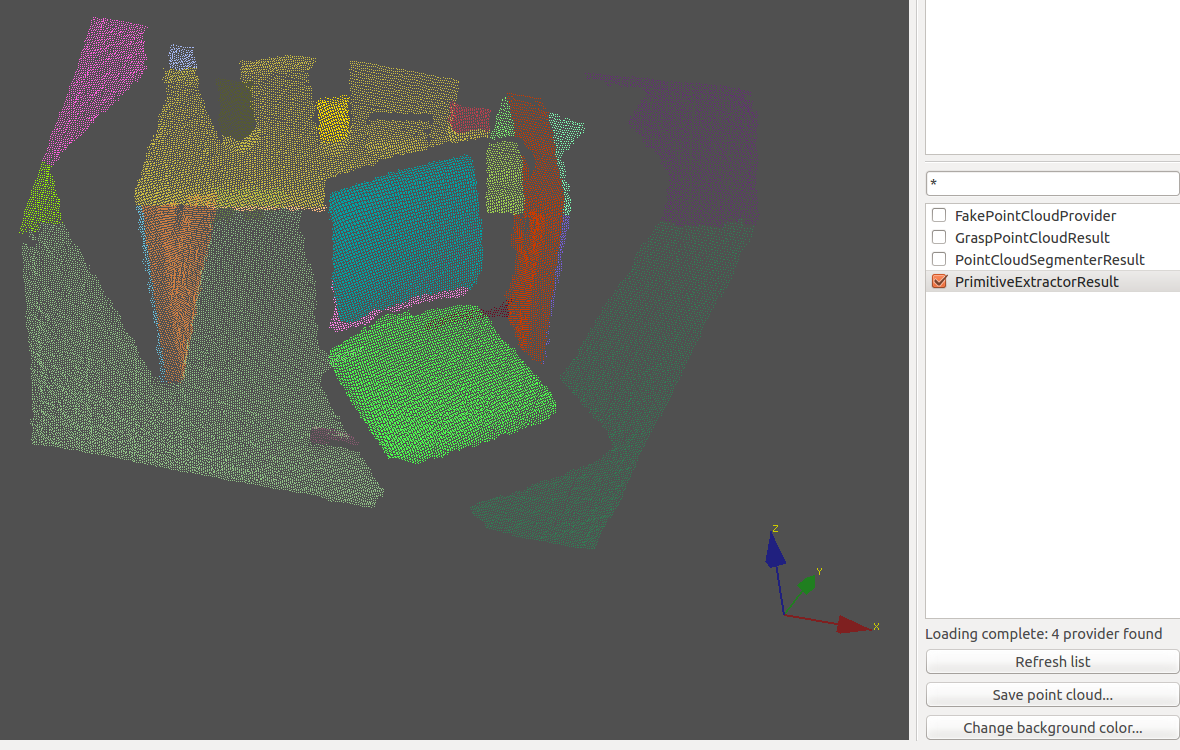
The point cloud viewer can of course only show the inlier of the respective primitives that were estimated. To get an overview over the estimation in the scene, you can take a look at the textual output of the PrimitiveExtractor:
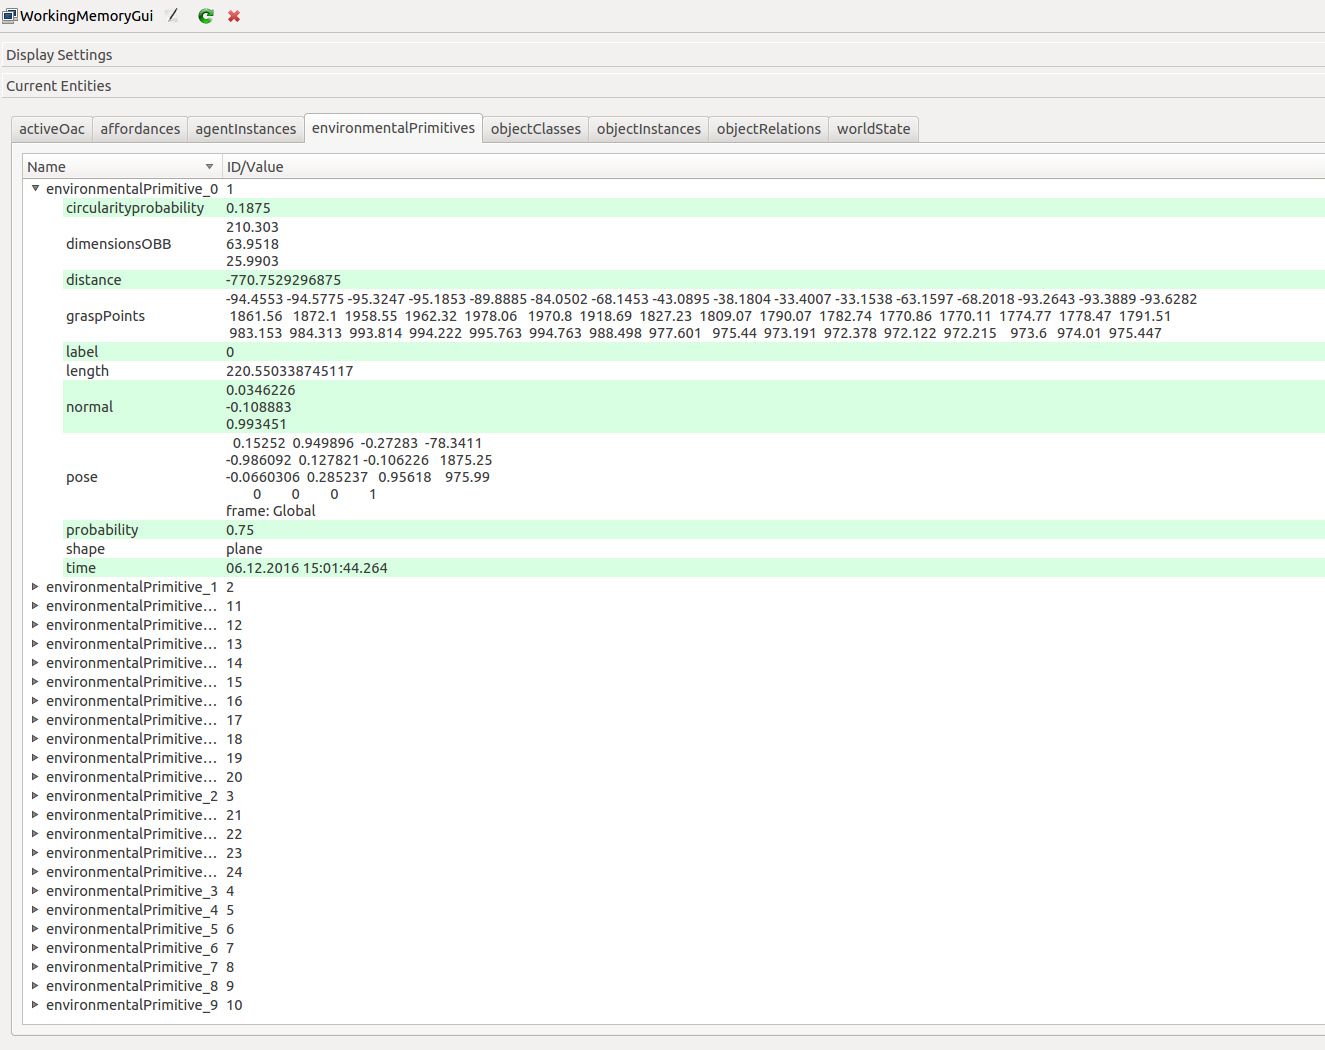
Additionally, the estimated primitives are written to the memory and can be inspected in the WorkingMemoryGui widget under the environmentalPrimitives tab.
Visualization of the primitives
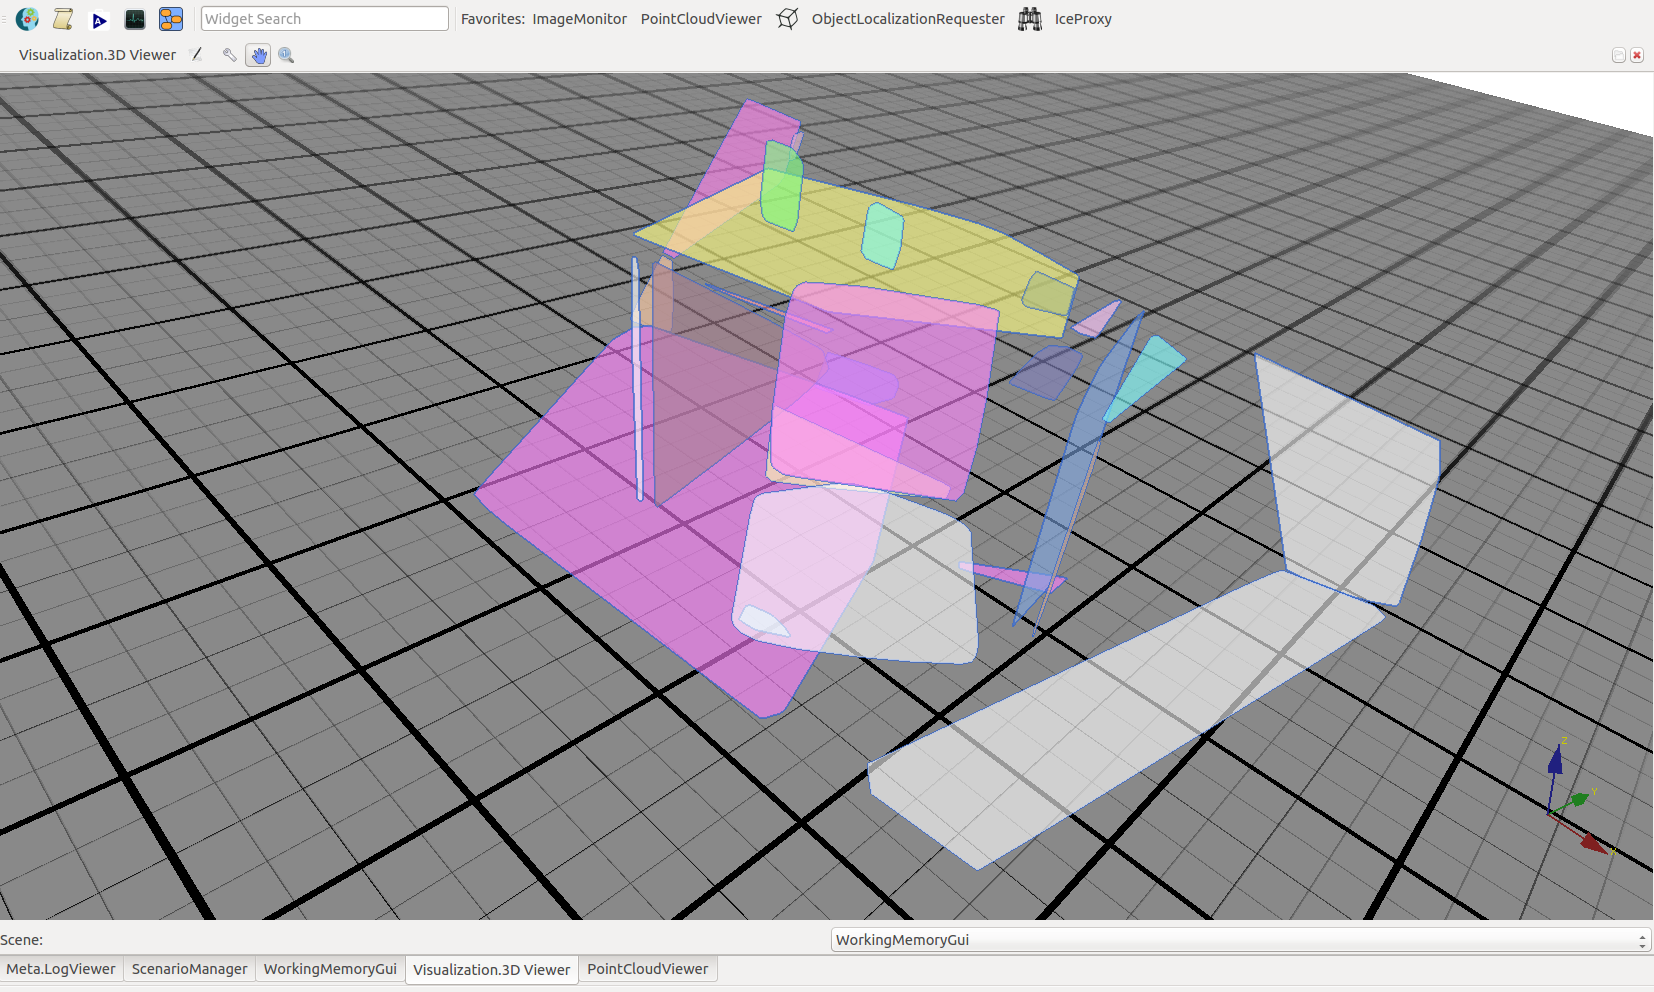
To get a better visualization of the primitives, apart from their point cloud inliers, the PrimitiveVisualization can be used. When the according application is added, the default configuration should be sufficient to view the primitives. You need to have added the WorkingMemoryGui widget and are then able to see a representation in the 3DViewer that opened together with the WoringMemoryGui.
